Reference
Map icon keys
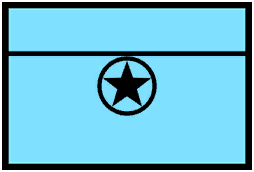
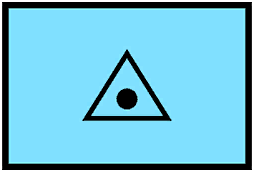
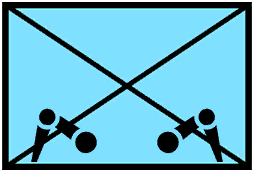
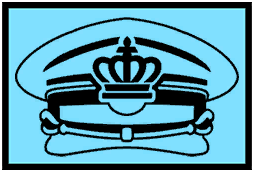
Every counter the tactical map can draw, with its picture and its name. The game shows this board in the cab but does not explain it, and half of gunnery is knowing whether the thing you just plotted is a battery, a supply dump or a field hospital.
A counter is a frame plus a drawing
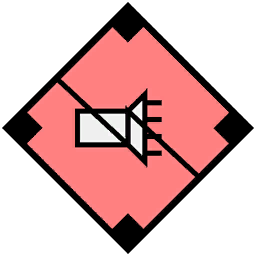
Read the outline first. It answers the only question that decides whether you fire: whose is it. The drawing inside answers what it is, and the same drawing appears on both sides — a red diamond with an X and a blue rectangle with an X are both infantry, one of them yours.

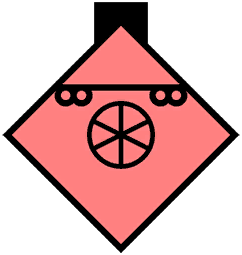
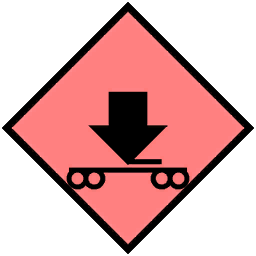
Standing on a point. Everything you are being asked to destroy wears this frame.

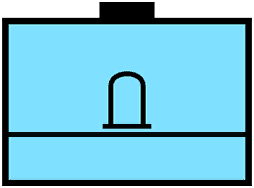
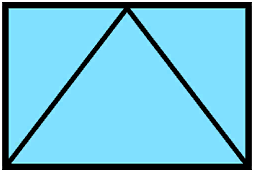
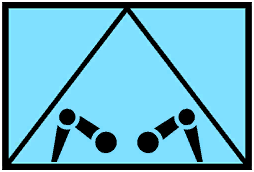
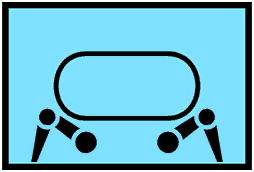
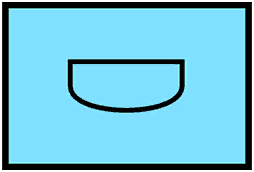
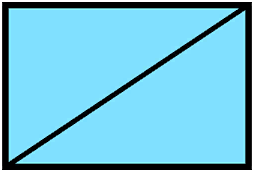
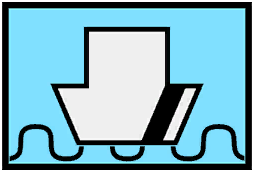
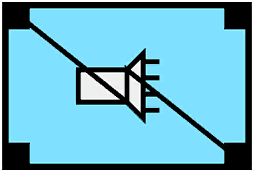
Standing flat. Your own side and the civilians under its protection — shells landing here cost you.
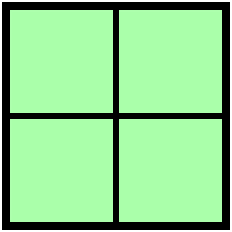
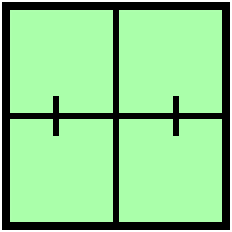
Neither side's. Medical facilities and the map's own reference marks.
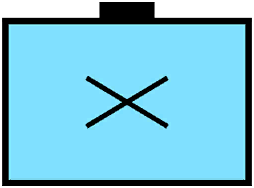
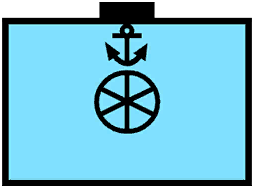
A post on top means it cannot move

Thirteen of the seventy counters are drawn on a short black staff rising out of the frame, and every one of them is a fixed facility: the bases, ports, train stations and ammunition caches on both sides, the hostile artillery bunker and fire direction center, and the hospital and emergency medical stations. Nothing that walks or drives carries it. That is worth more than it sounds when you are firing on old information — a staffed counter will still be there when the shell arrives.
A roof means it is dug in

Exactly two counters are drawn under a bracket instead of on a staff, and both are forts — the friendly fort and the hostile underground fort. Read it as overhead cover: the position is a fortification rather than something parked in the open, and it is the only modifier in the set that describes what the target is made of rather than what it is.
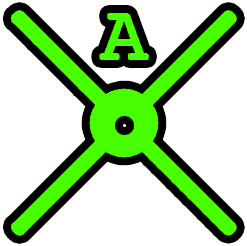
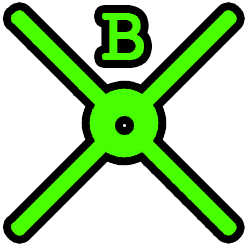
Green crosses are marks, not targets
Reference points A, B, C and D and the crosshair are drawn by the map itself. They wear no allegiance frame because they belong to nobody — they are there to give you a known position to measure from. Everything else on this page is something standing on the ground.
All 70 counters
Enemy · 34
- AAUnit
- Ammunition CacheInstallation
- Anti-tankUnit
- Armor MechanizedUnit
- Artillery BunkerInstallation
- Artillery TurretUnit
- BaseInstallation
- Civil RiotingUnit
- CivilianUnit
- CommanderUnit
- Emergency Medical OperationInstallation
- Field ArtilleryUnit
- Field Artillery ObserverUnit
- Fire Direction CenterInstallation
- InfantryUnit
- Infantry MechanizedUnit
- Iron NestUnit
- MarineUnit
- MedicalUnit
- Medical Treatment FacilityUnit
- PortInstallation
- ReconUnit
- Recon ListeningUnit
- RiotingUnit
- ShipUnit
- Ship EngineUnit
- Ship Fire Direction CenterUnit
- Ship StripeUnit
- Ship TurretUnit
- TV and Radio PropagandaUnit
- Train LocomotiveUnit
- Train StationInstallation
- Train TransportUnit
- Underground FortFortified

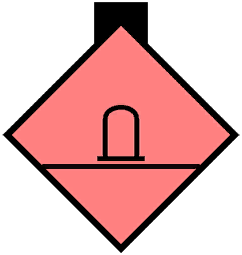










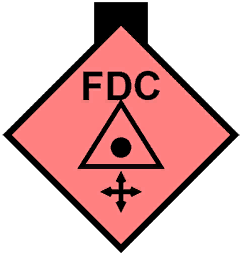





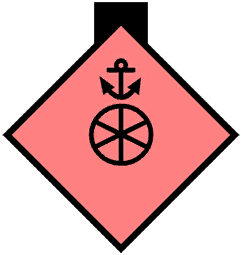









Allied · 29
- AAUnit
- Ammunition CacheInstallation
- Anti-tankUnit
- Anti-tank MechanizedUnit
- Armor MechanizedUnit
- Civil MilitaryUnit
- Civil RiotingUnit
- CivilianUnit
- CommanderUnit
- Emergency Medical OperationInstallation
- Field ArtilleryUnit
- Field Artillery ObserverUnit
- FortFortified
- GeneralUnit
- HospitalInstallation
- InfantryUnit
- Infantry MechanizedUnit
- KingUnit
- MarineUnit
- MedicalUnit
- Medical Treatment FacilityUnit
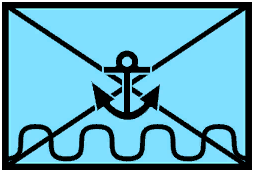
- Military BaseInstallation
- PoliceUnit
- PortInstallation
- Recon ListeningUnit
- ReconnaissanceUnit
- Ship StripeUnit
- TV and Radio PropagandaUnit
- Train StationInstallation










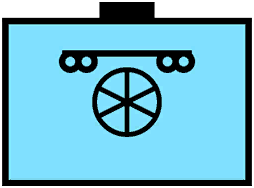
Neutral · 7
- CrosshairReference mark
- MedicalUnit
- Medical Treatment FacilityUnit
- Reference Point AReference mark
- Reference Point BReference mark
- Reference Point CReference mark
- Reference Point DReference mark



See the counters in place on each tactical map, learn what a report from a forward observer actually says, or look up what each target is worth in requisition.
Common questions
What do the map symbols mean in IRON NEST?
Each counter is two pieces of information stacked. The frame tells you whose it is — a red diamond is hostile, a blue rectangle is friendly, a green square is neutral — and the drawing inside the frame tells you what it is. Shape and colour both carry the allegiance, so a counter still reads correctly if the colour is hard to tell apart.
What does the black post on top of a map counter mean?
It marks a fixed installation. Thirteen of the seventy counters carry it: the friendly and hostile bases, ports, train stations and ammunition caches, the hostile artillery bunker and fire direction center, and the hospital and emergency medical stations. Anything wearing the post will still be where it was reported by the time your shell lands.
What is the bracket drawn over some map counters?
A roof over the frame, and only the two forts wear it — the friendly fort and the hostile underground fort. It is the drawing's way of saying the position is dug in rather than standing in the open.
How do I tell an enemy counter from a friendly one?
By the outline. Hostile counters are red diamonds standing on a point. Friendly counters are blue rectangles standing flat. Neutral counters are green squares. Red and blue versions of the same unit use the same drawing inside, so it is the frame, not the picture, that decides whether firing on it costs you requisition.
What are reference points A, B, C and D on the map?
Green cross marks the map draws for you rather than units standing on the ground. They belong to no side and carry no allegiance frame — they exist to give you a known position to measure a bearing or a distance from.
How many map symbols are there in IRON NEST?
Seventy: 34 hostile, 29 friendly and 7 neutral, counting the four reference points and the crosshair.