Reference
Maps
Every location the Iron Nest deploys to — real Spanish Civil War places, each a fixed hand-authored map rather than a procedural seed. Study the tactical map for bearings and the topography overlay for elevation before you call your fire.
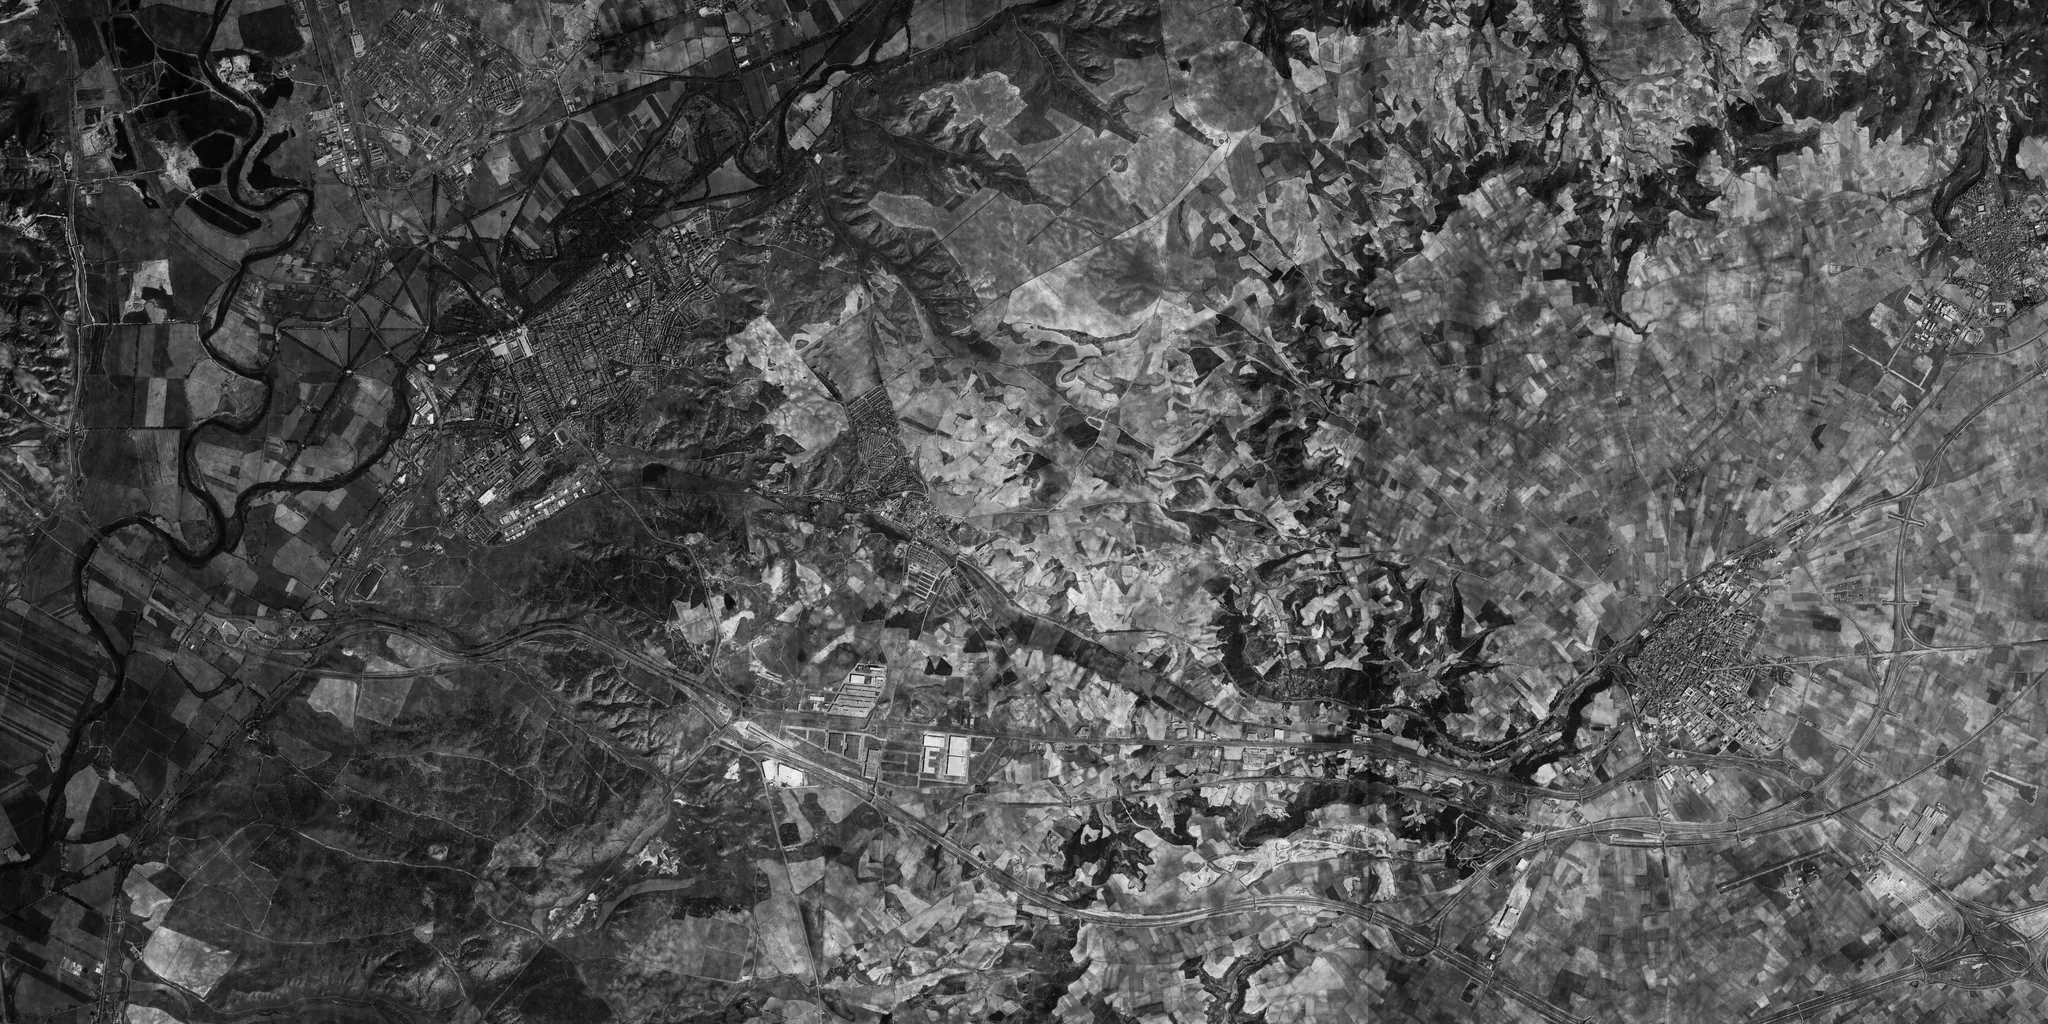
Aranjuez
Tagus river valley, south of Madrid
The royal town on the Tagus. River-cut terrain and tree lines break sightlines, so spotters and recon punchcards matter more here than raw range.
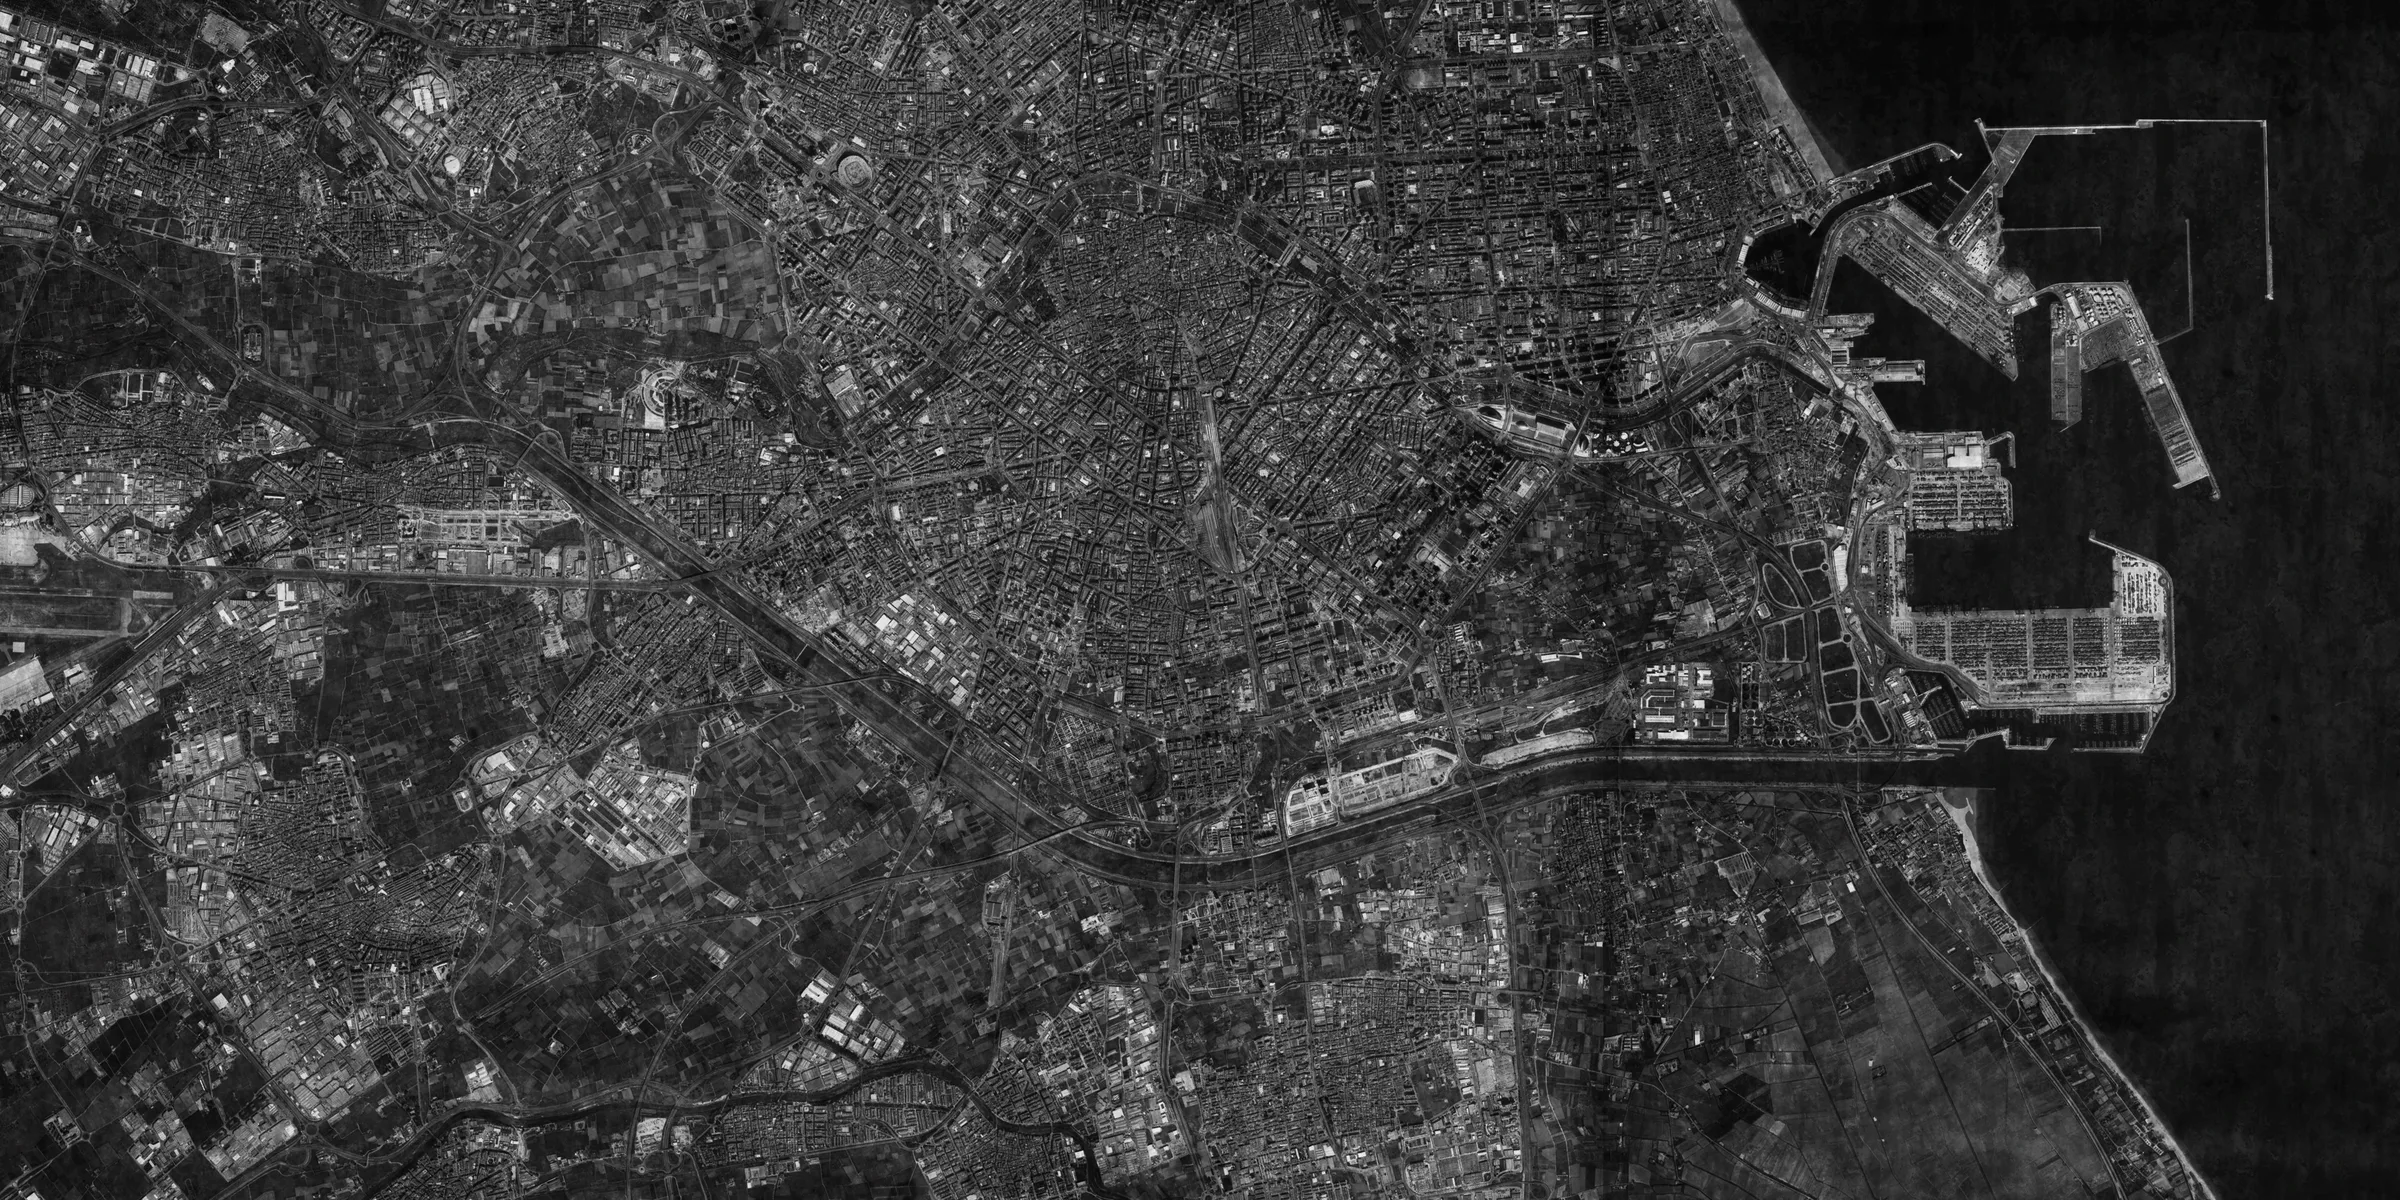
Blind fire
Turia river plain, Valencia
The orchard country of the Huerta, on the Turia plain behind Valencia. Anti-aircraft batteries deny reconnaissance over the whole map, which is the point of it: no eyes, so every solution is computed rather than observed.
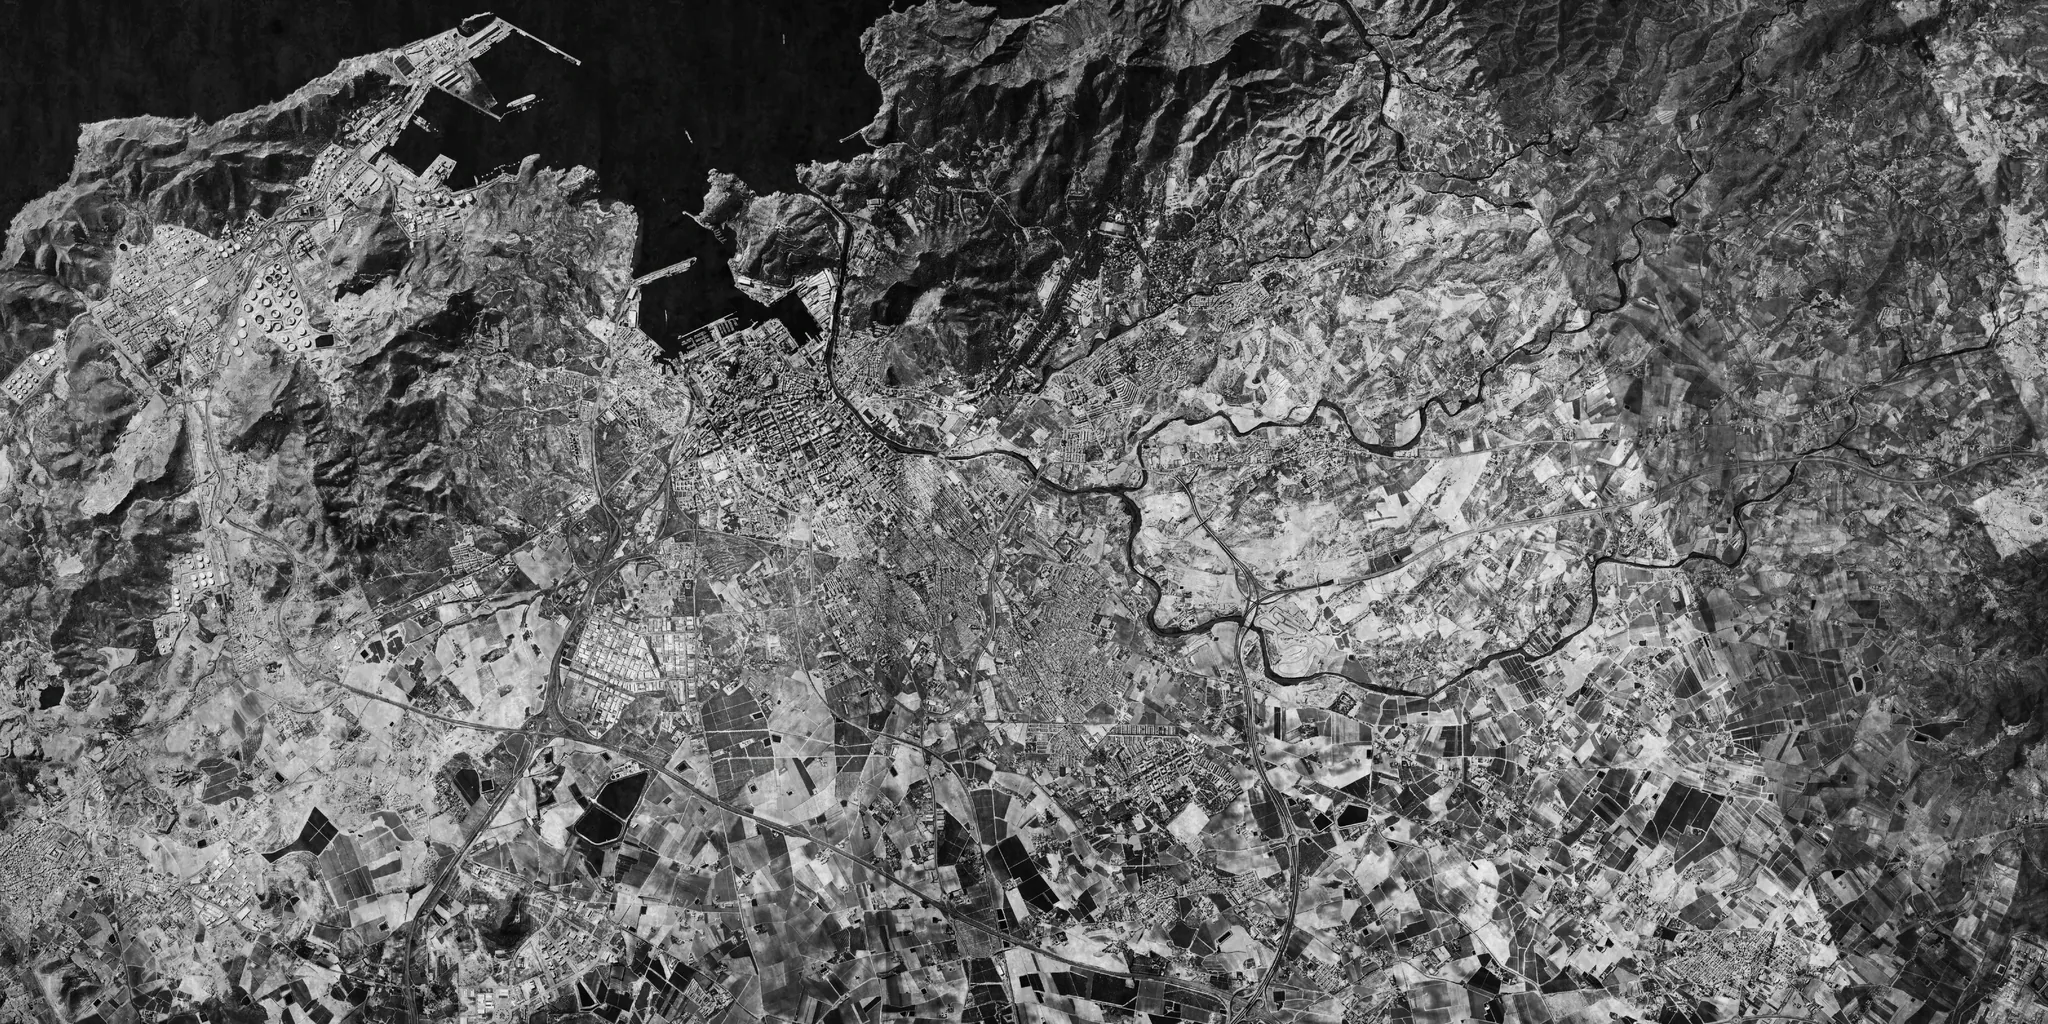
Cartagena
Murcian coast, southeast Spain
A fortified Mediterranean port. The coastline and harbour water layer define the approaches — naval and shore targets cluster along the waterline.
Ciudad Real
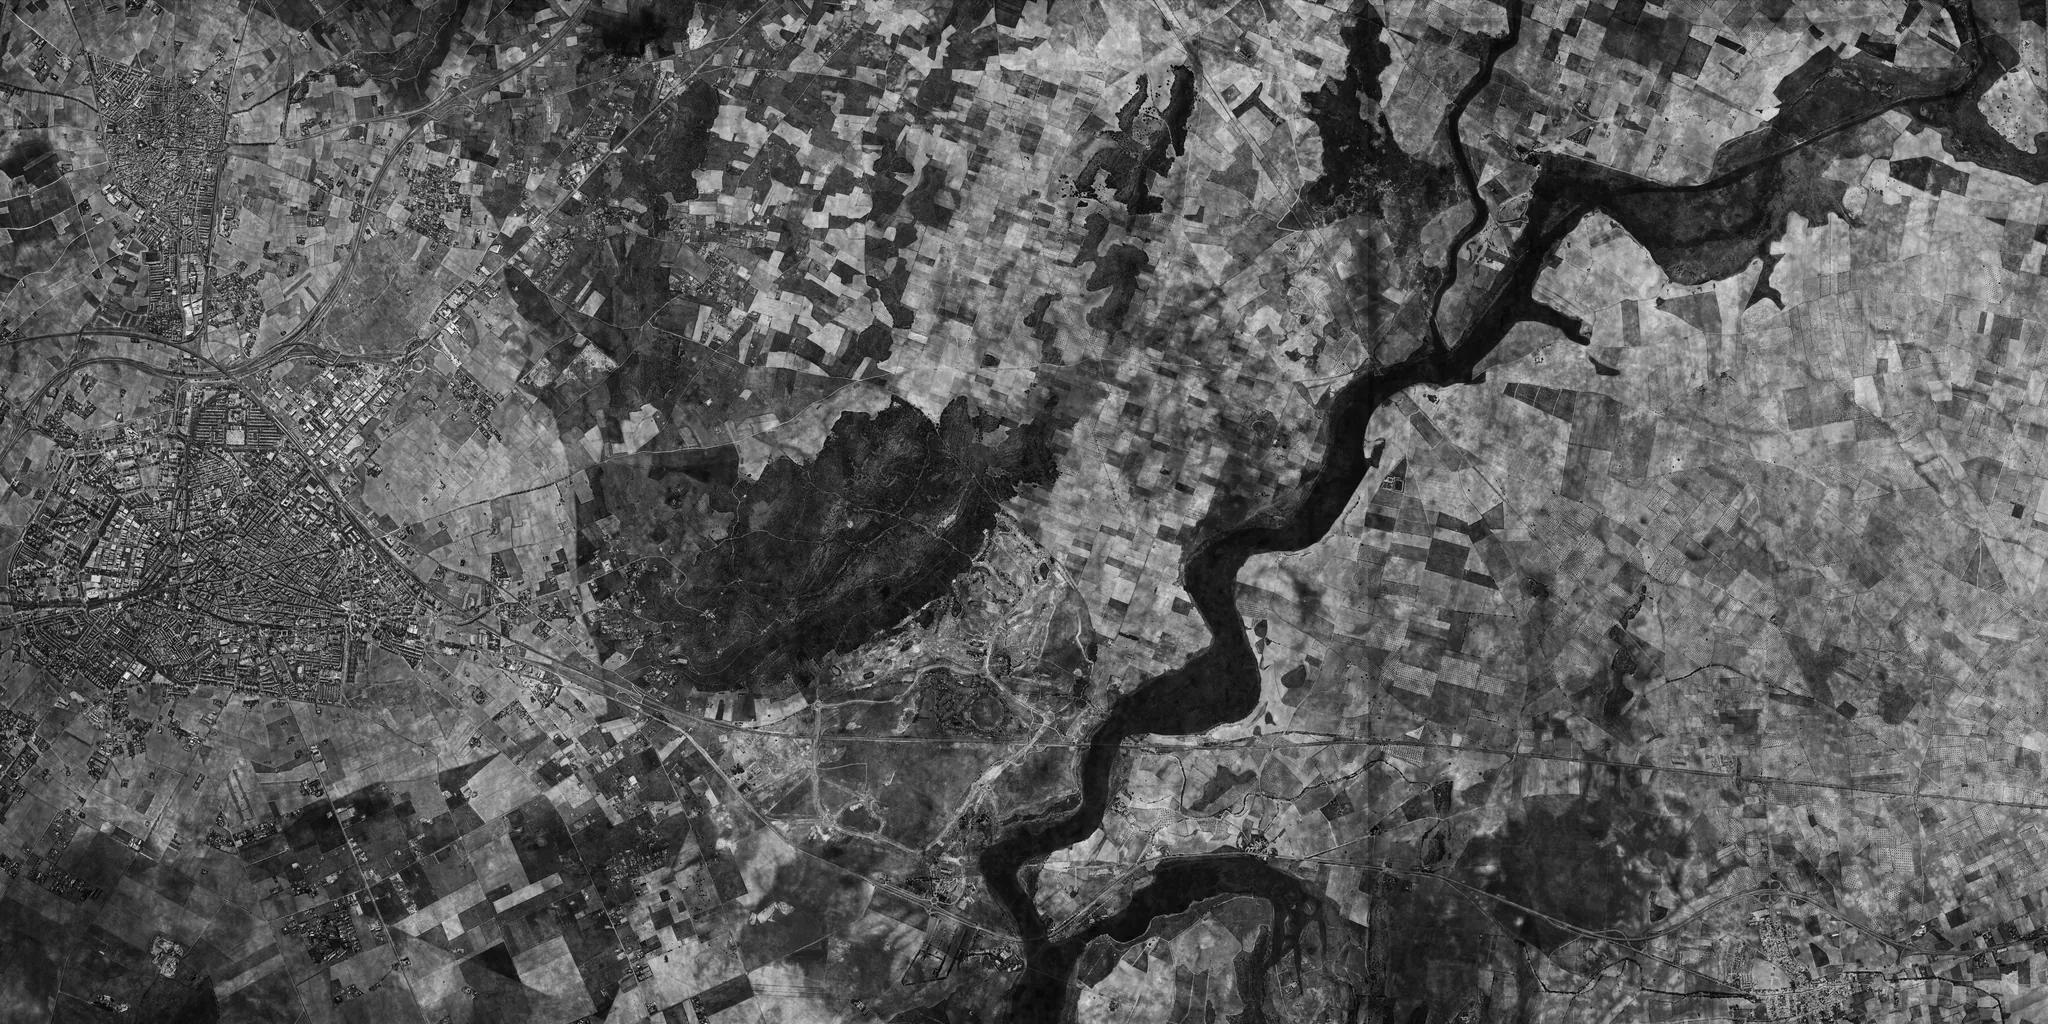
Castile-La Mancha, central Spain
A sprawling central-plateau front. Wide, open ground favors long-range indirect fire — load heavier powder charges and lean on the topography overlay to range distant batteries.
Dead Reckoning
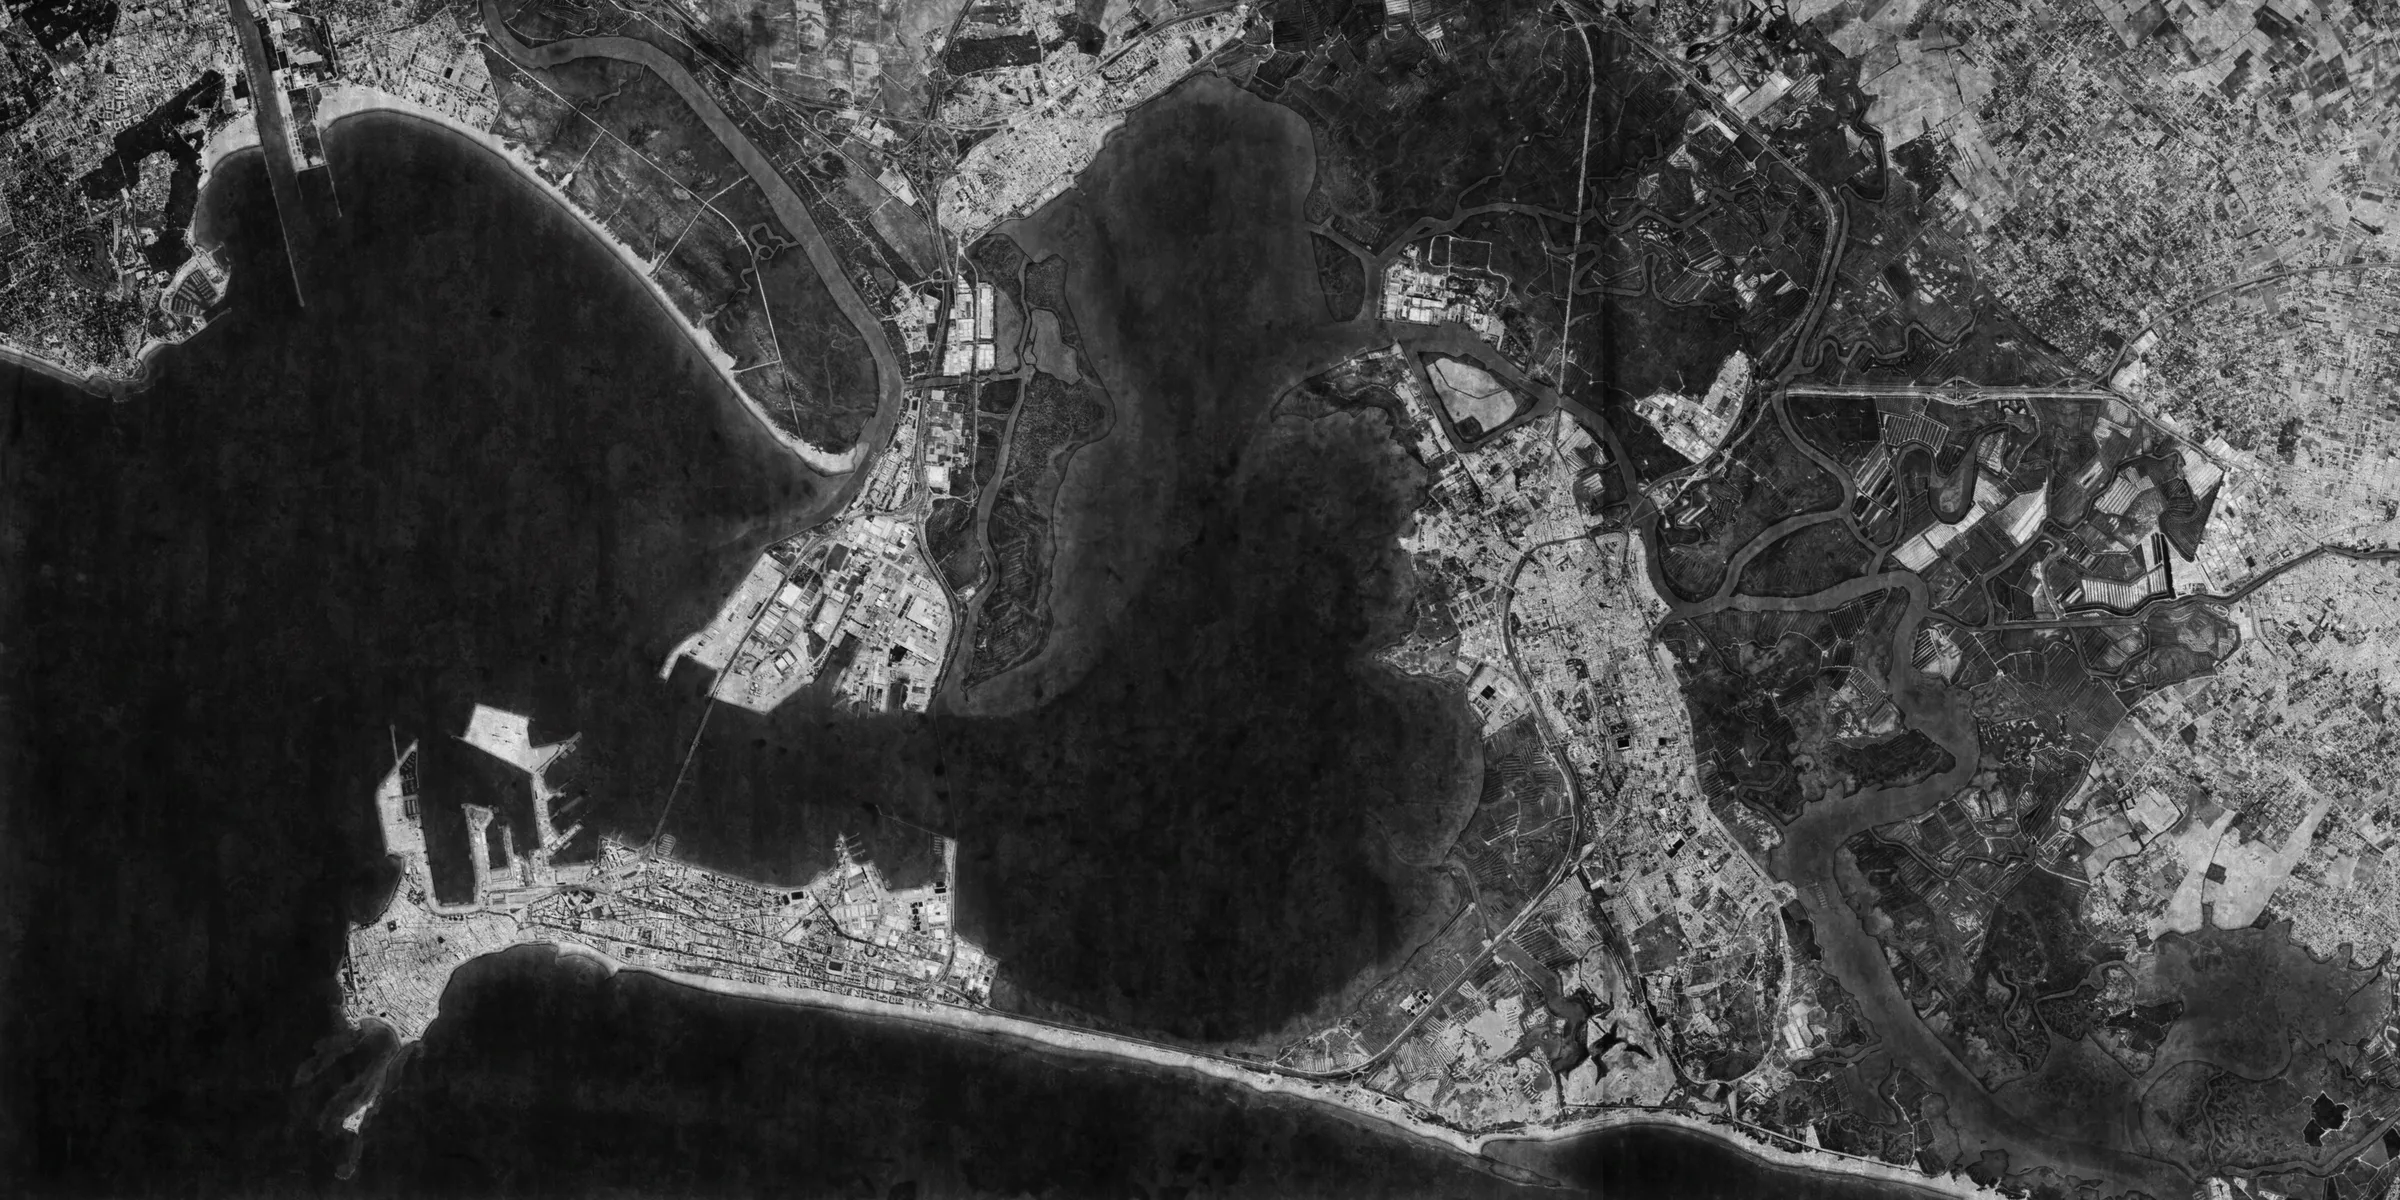
Bay of Cádiz, Atlantic Andalusia
An old Atlantic port strung along a narrow peninsula in the Bay of Cádiz, about 100 km up the coast from the Strait. The garrison has gone to ground and will not show itself to reconnaissance, which is exactly why this map is the one that teaches shooting on computed coordinates alone.
Final Harvest
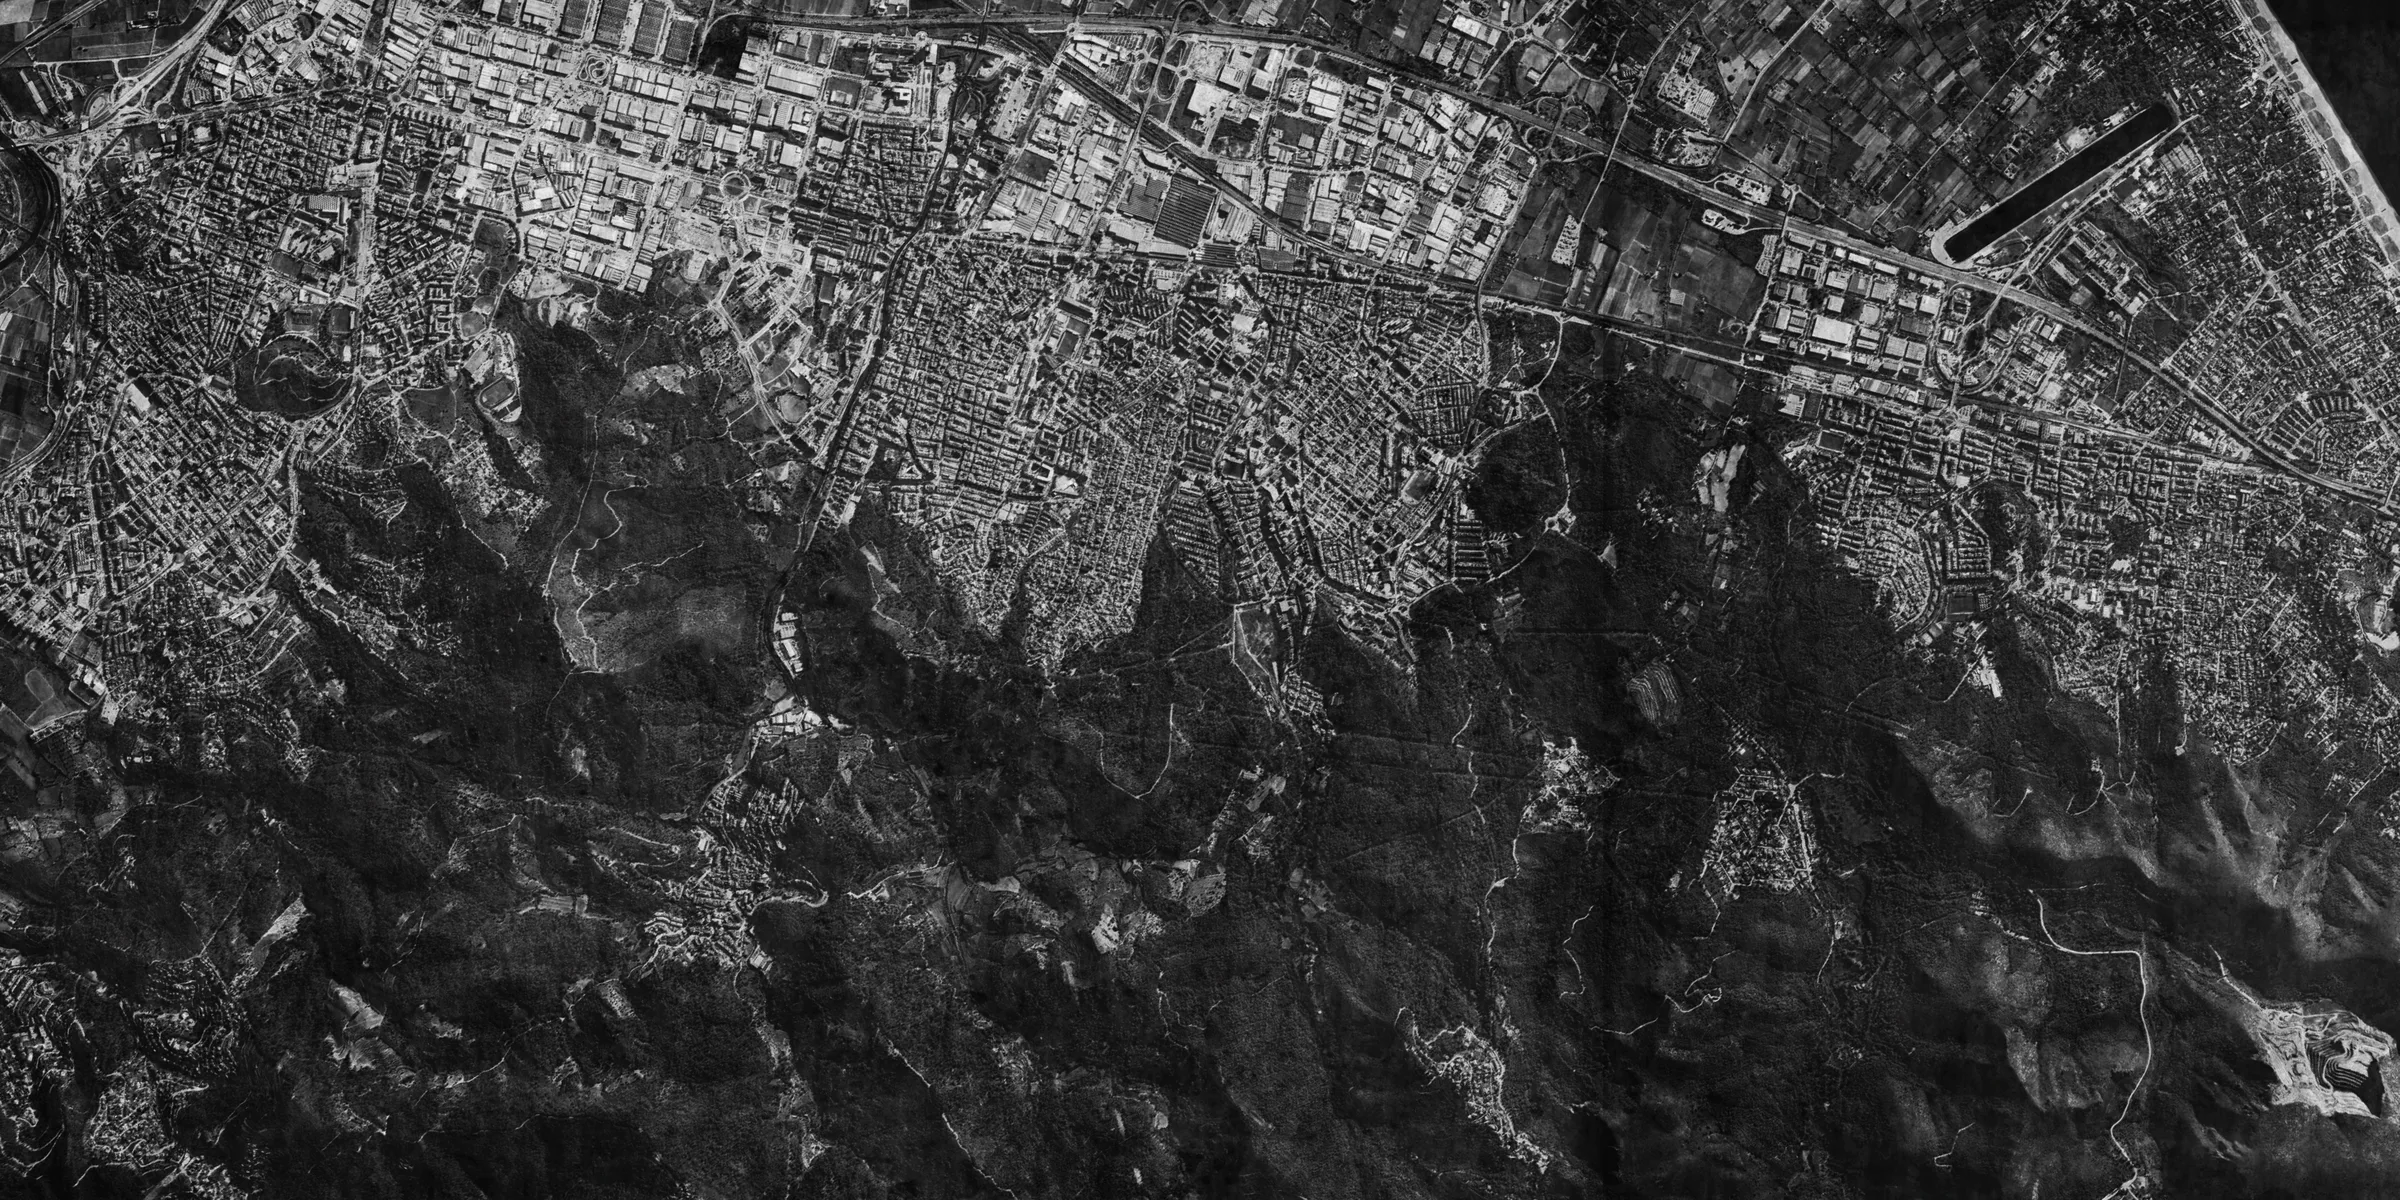
Barcelona's outskirts, coastal Catalonia
The edge of the Barcelona plain, where the built-up coast gives way to the ground below the Collserola ridge. The last organised resistance is dug in across a wide frontage, so this is steady work across the grid rather than one decisive bearing.
Fire on call
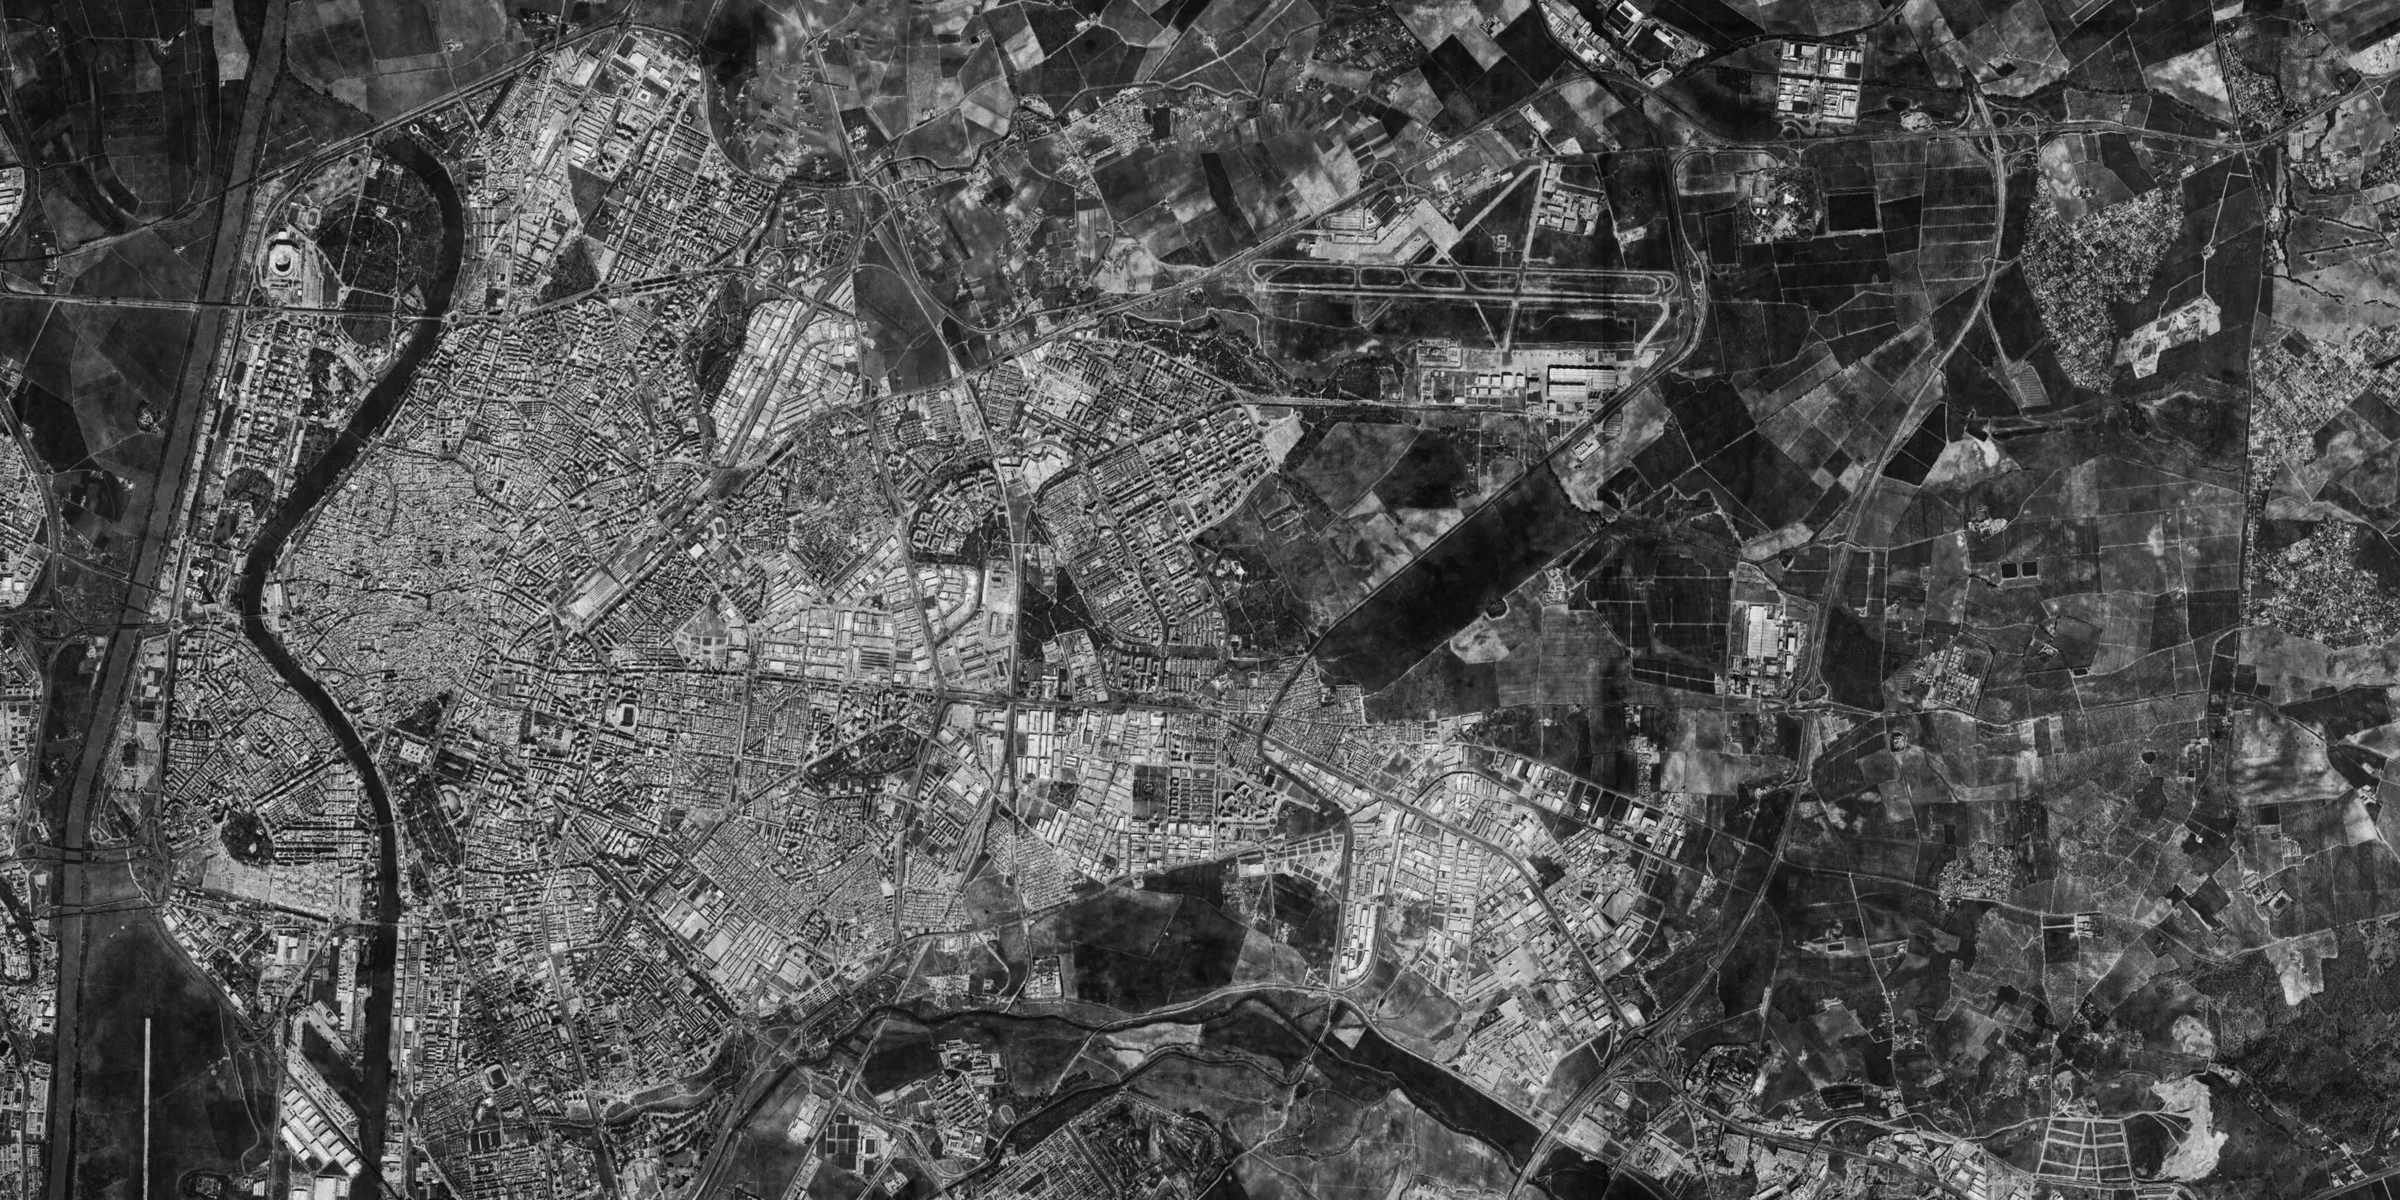
Guadalquivir valley, inland Andalusia
Andalusia's inland capital, set on the Guadalquivir well upriver of the coast. Fire arrives here as a continuous stream of calls rather than as set pieces — keep a solution ready and expect to re-lay between them.
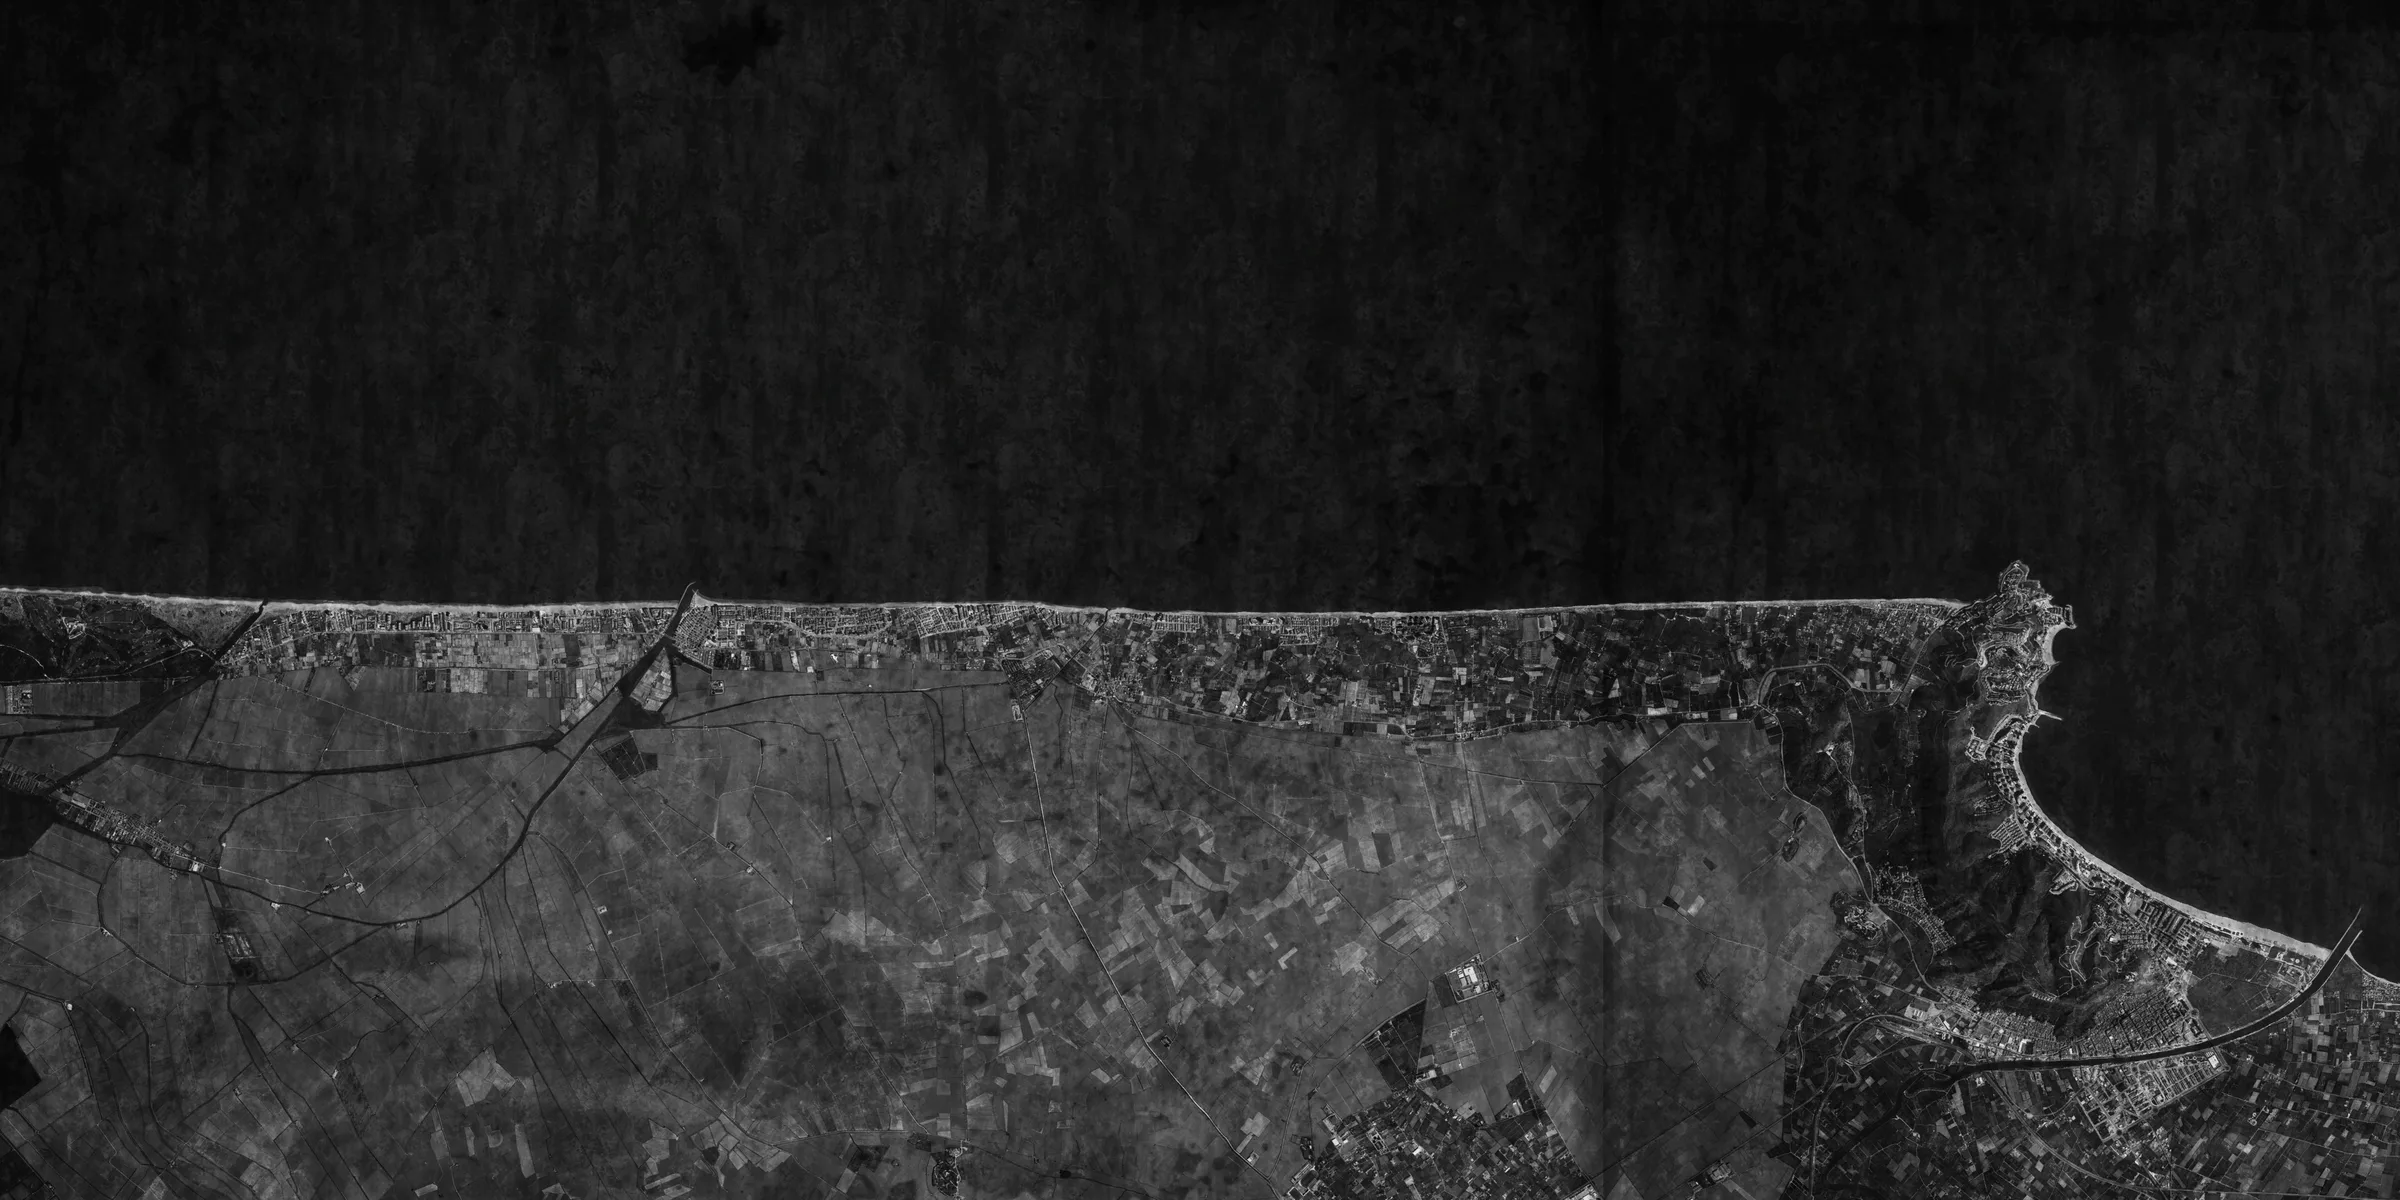
High Tide
An unnamed stretch of Spanish coast
A long, straight sandy shore backed by flat farmland, with a headland town anchoring the eastern end — the game never says where. Ships close from open water, so the fight runs along a single line and the beach itself is your range scale.
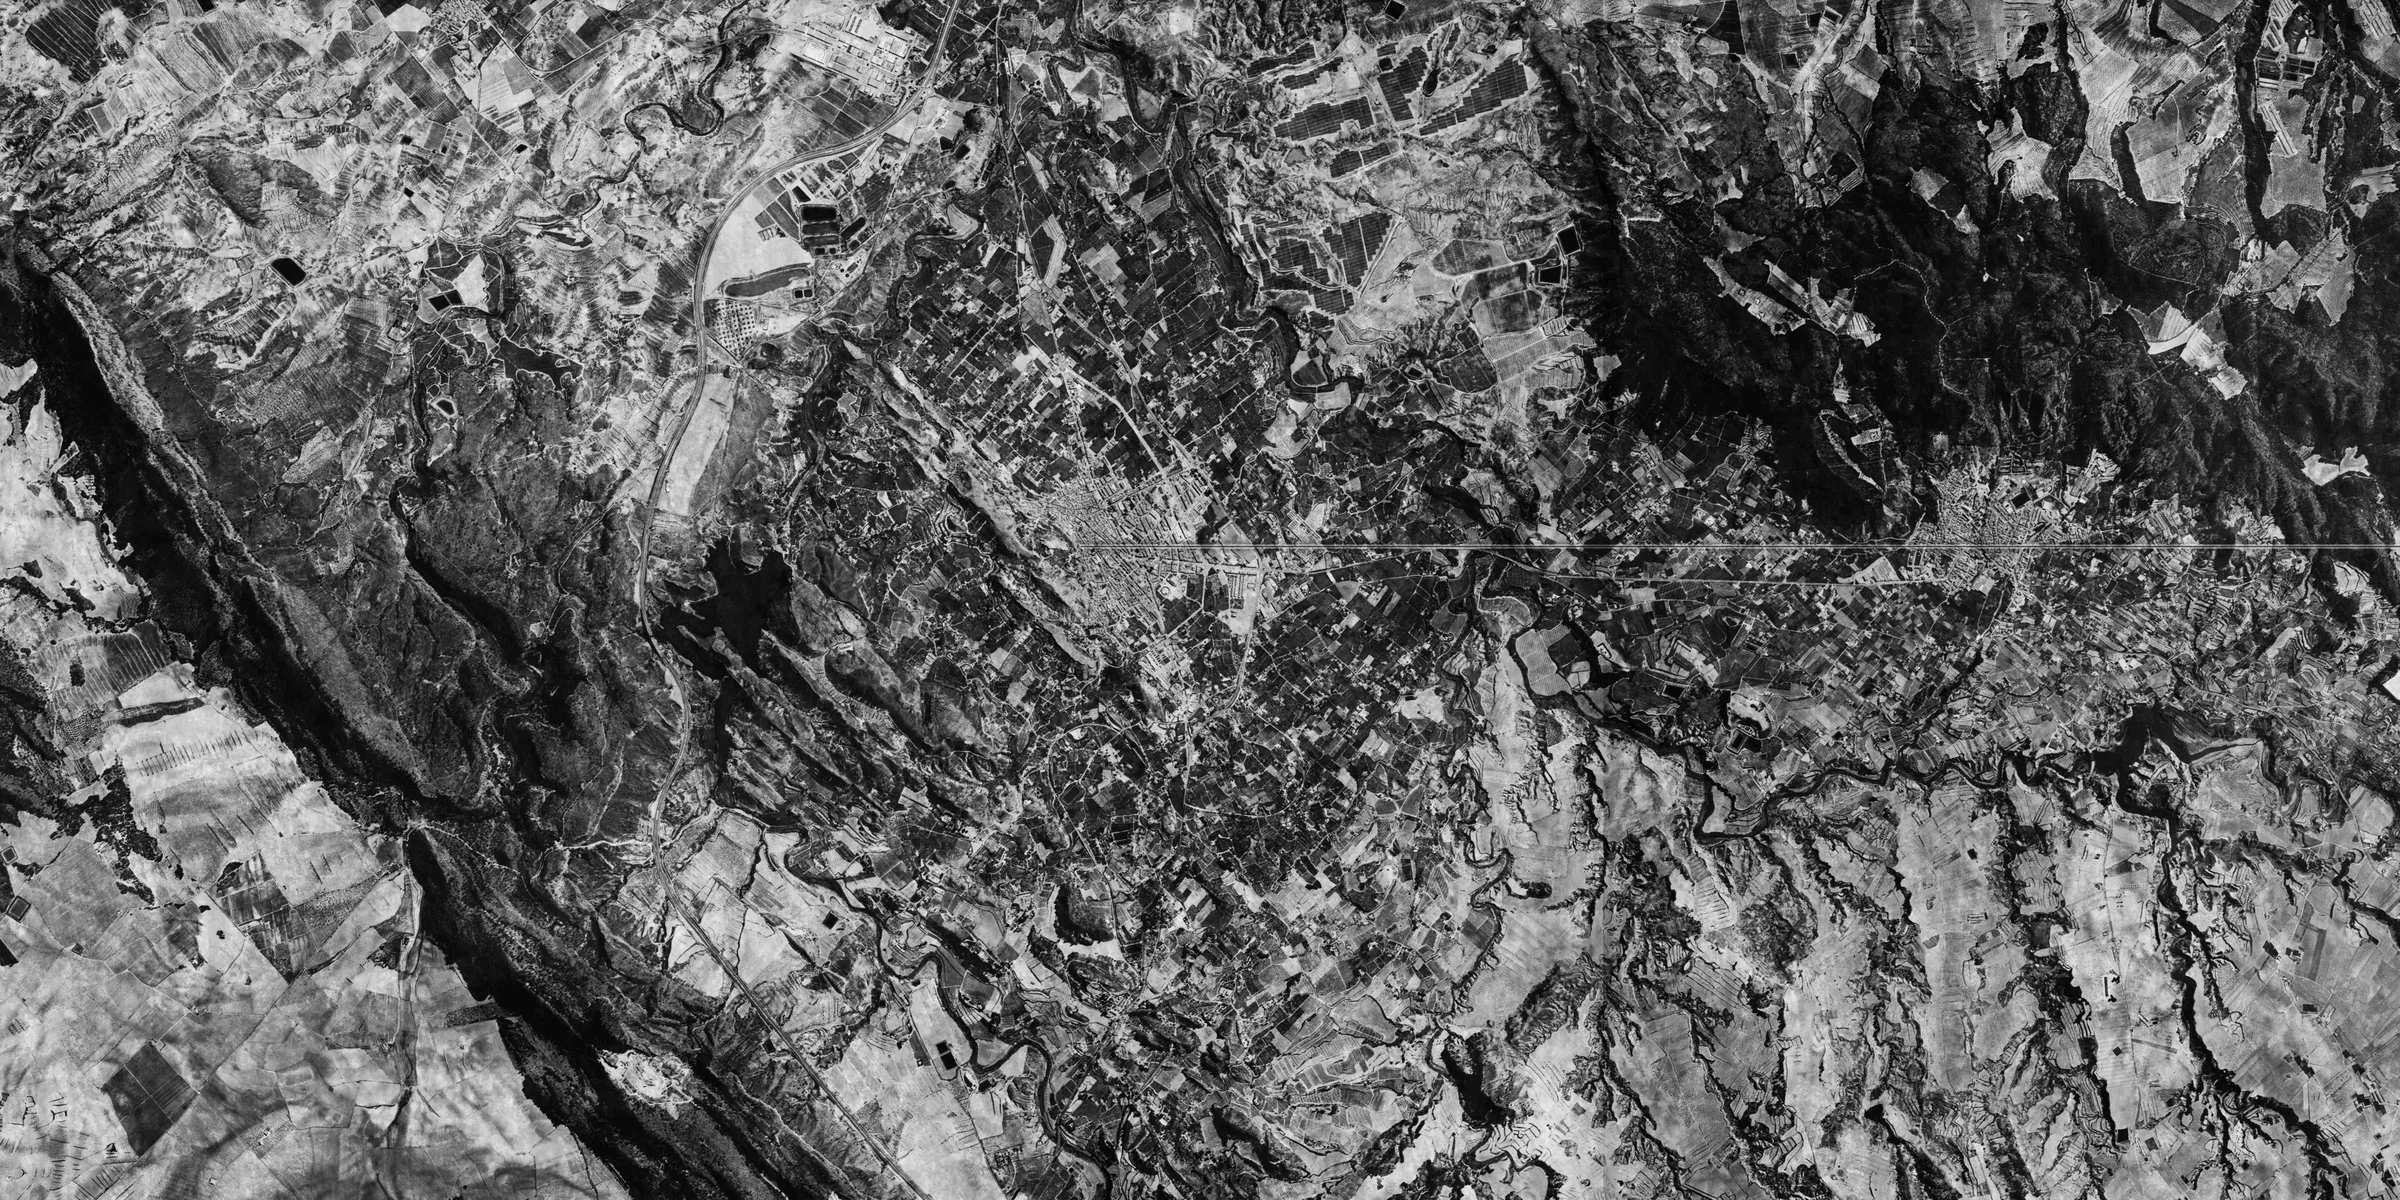
Iron Road
Río Mula valley, inland Murcia
A dry valley west of Murcia, terraced orchards and seasonal ramblas hemmed in by the sierras on either side. The rail line runs the full width of the map — it is both the reason for the operation and the straightest ranging reference on it.
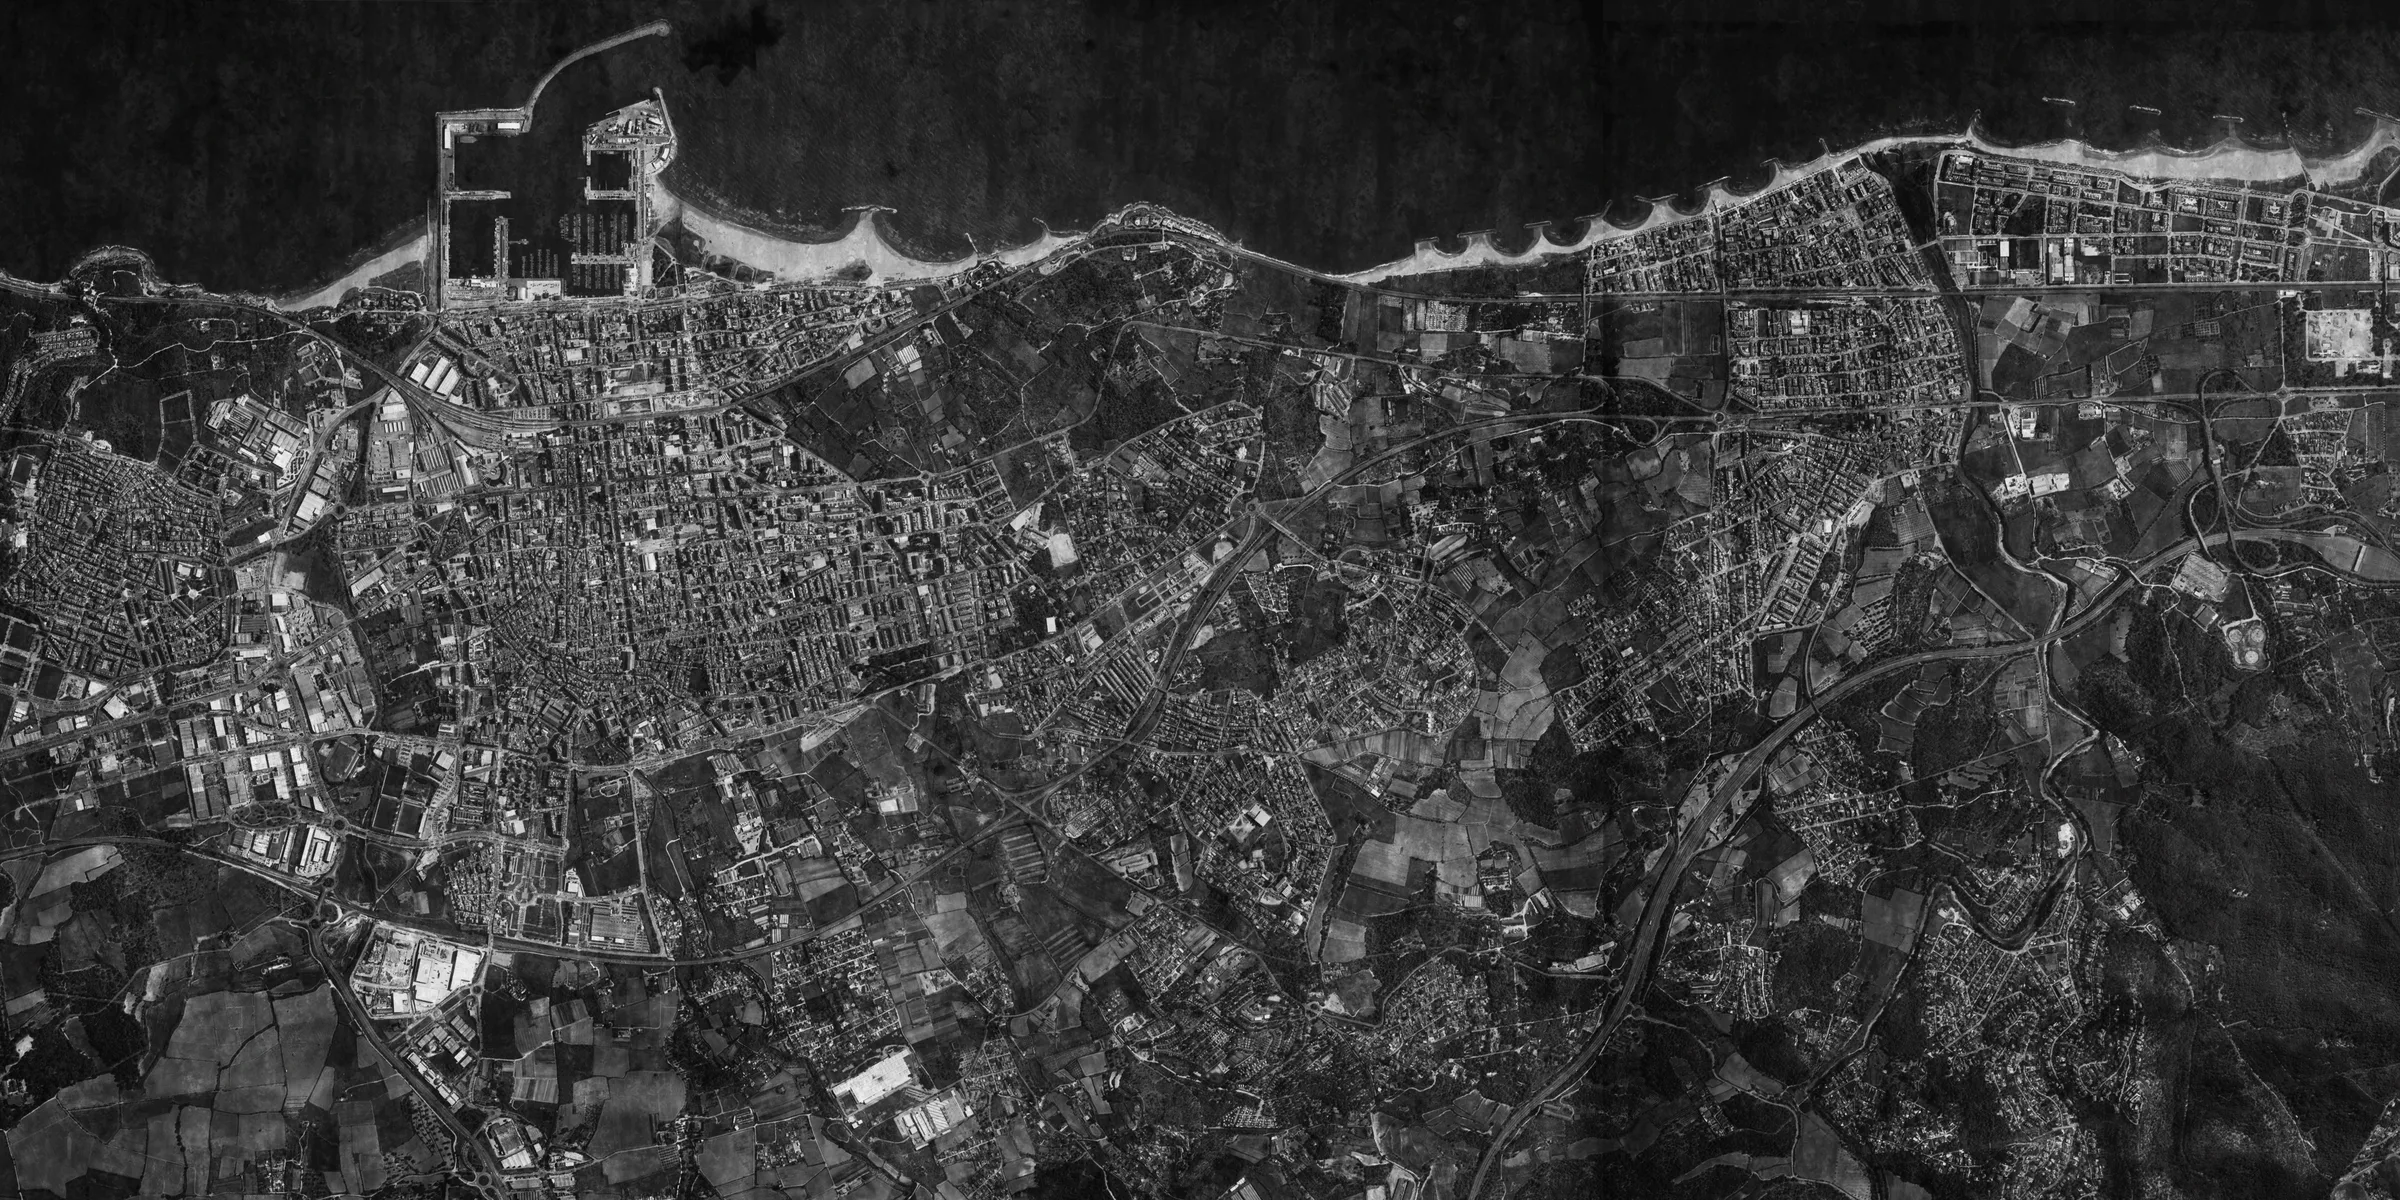
Phantom Battery
An unnamed Spanish port city
A working port — breakwater harbour, dense street grid, cove beaches running east and cultivated hills inland; the game never names it. Something out there matches the Iron Nest shot for shot, so the counter-battery clock sets the tempo, not the target list.
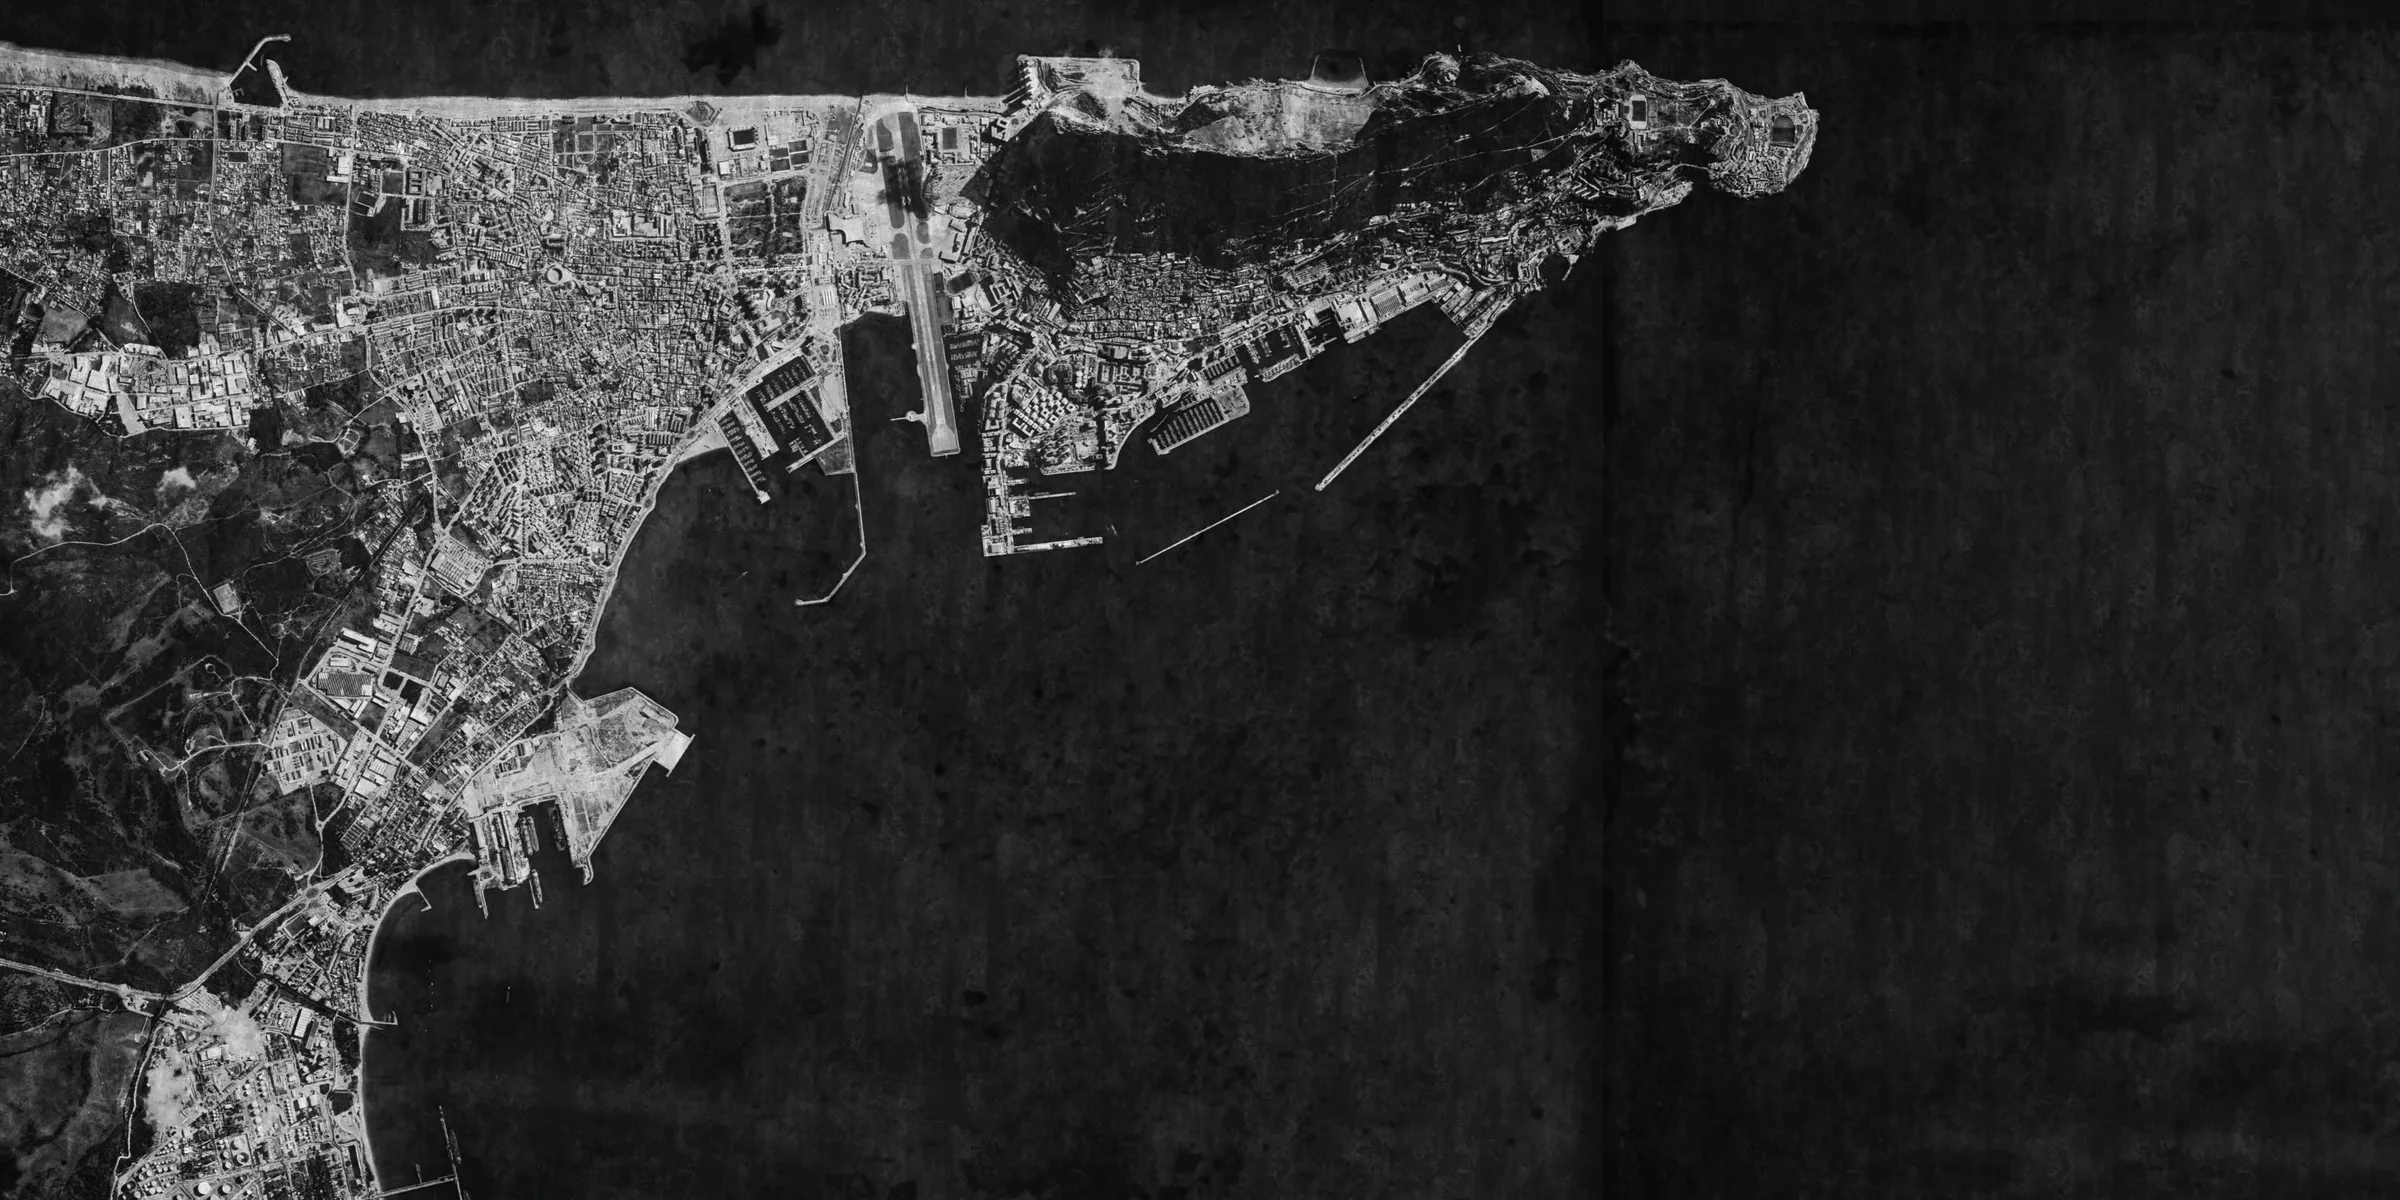
Rock of Gibraltar
Bay of Gibraltar, southern tip of Iberia
A limestone monolith rising 426 m straight out of the sea, tied to the mainland by a low sand isthmus, with the anchorage on the sheltered bay to its west. The target rides at anchor, so the waterline is the entire engagement — and the Rock blocks everything behind it.
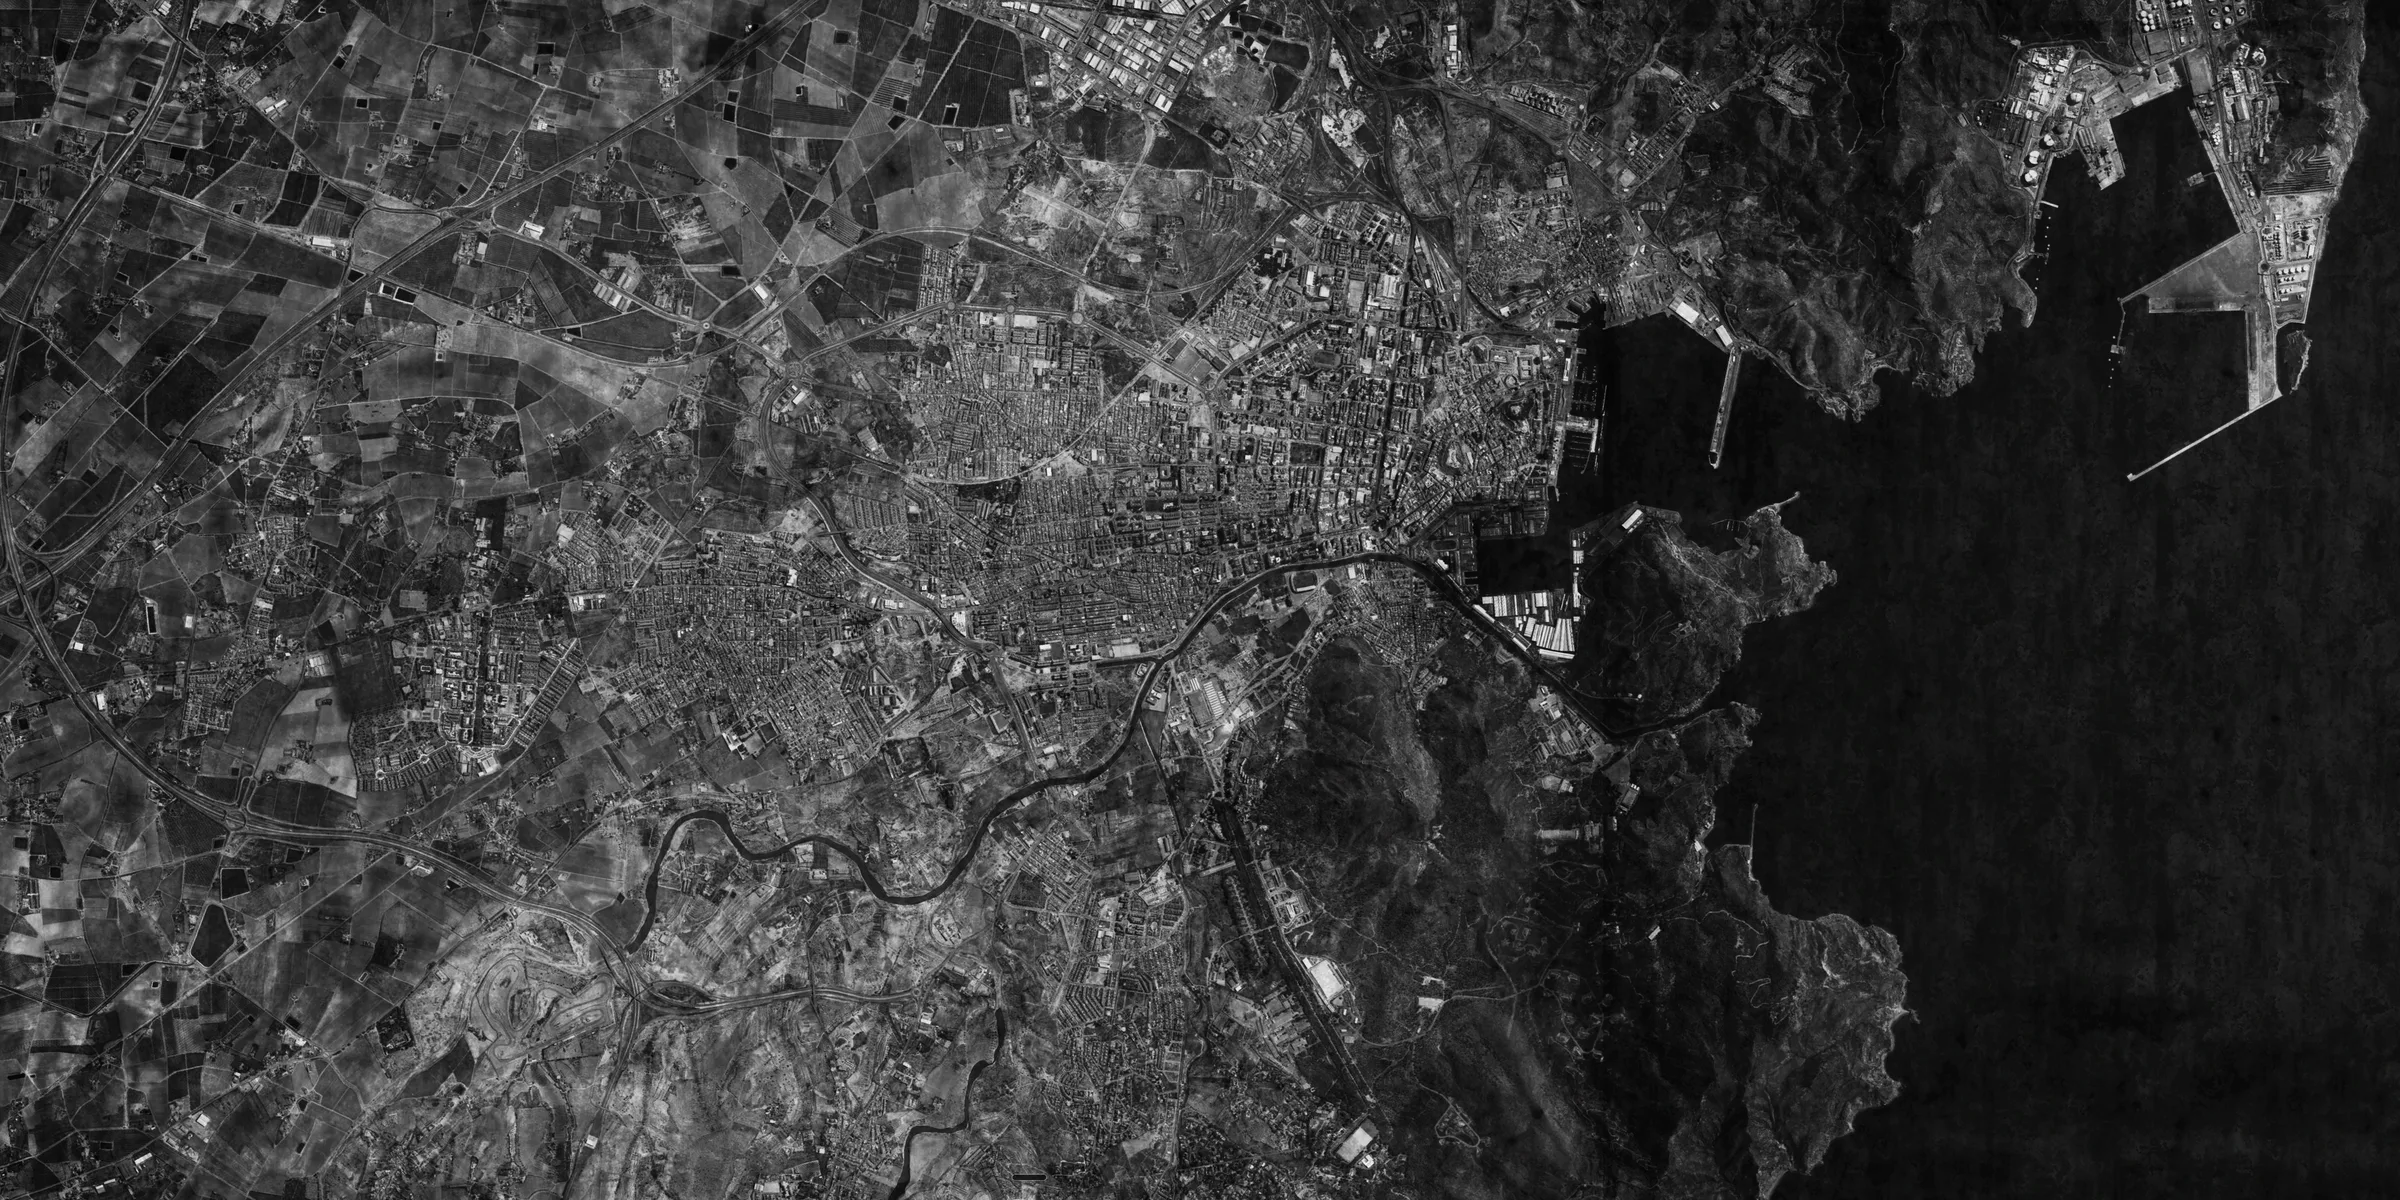
Siege of Cartagena
Cartagena, Murcian coast
Spain's great Mediterranean naval port, ringed by the high ground that always made it defensible. The coastal batteries holding the breakout are concealed and set back from the water, so read the topography before committing to a bearing.
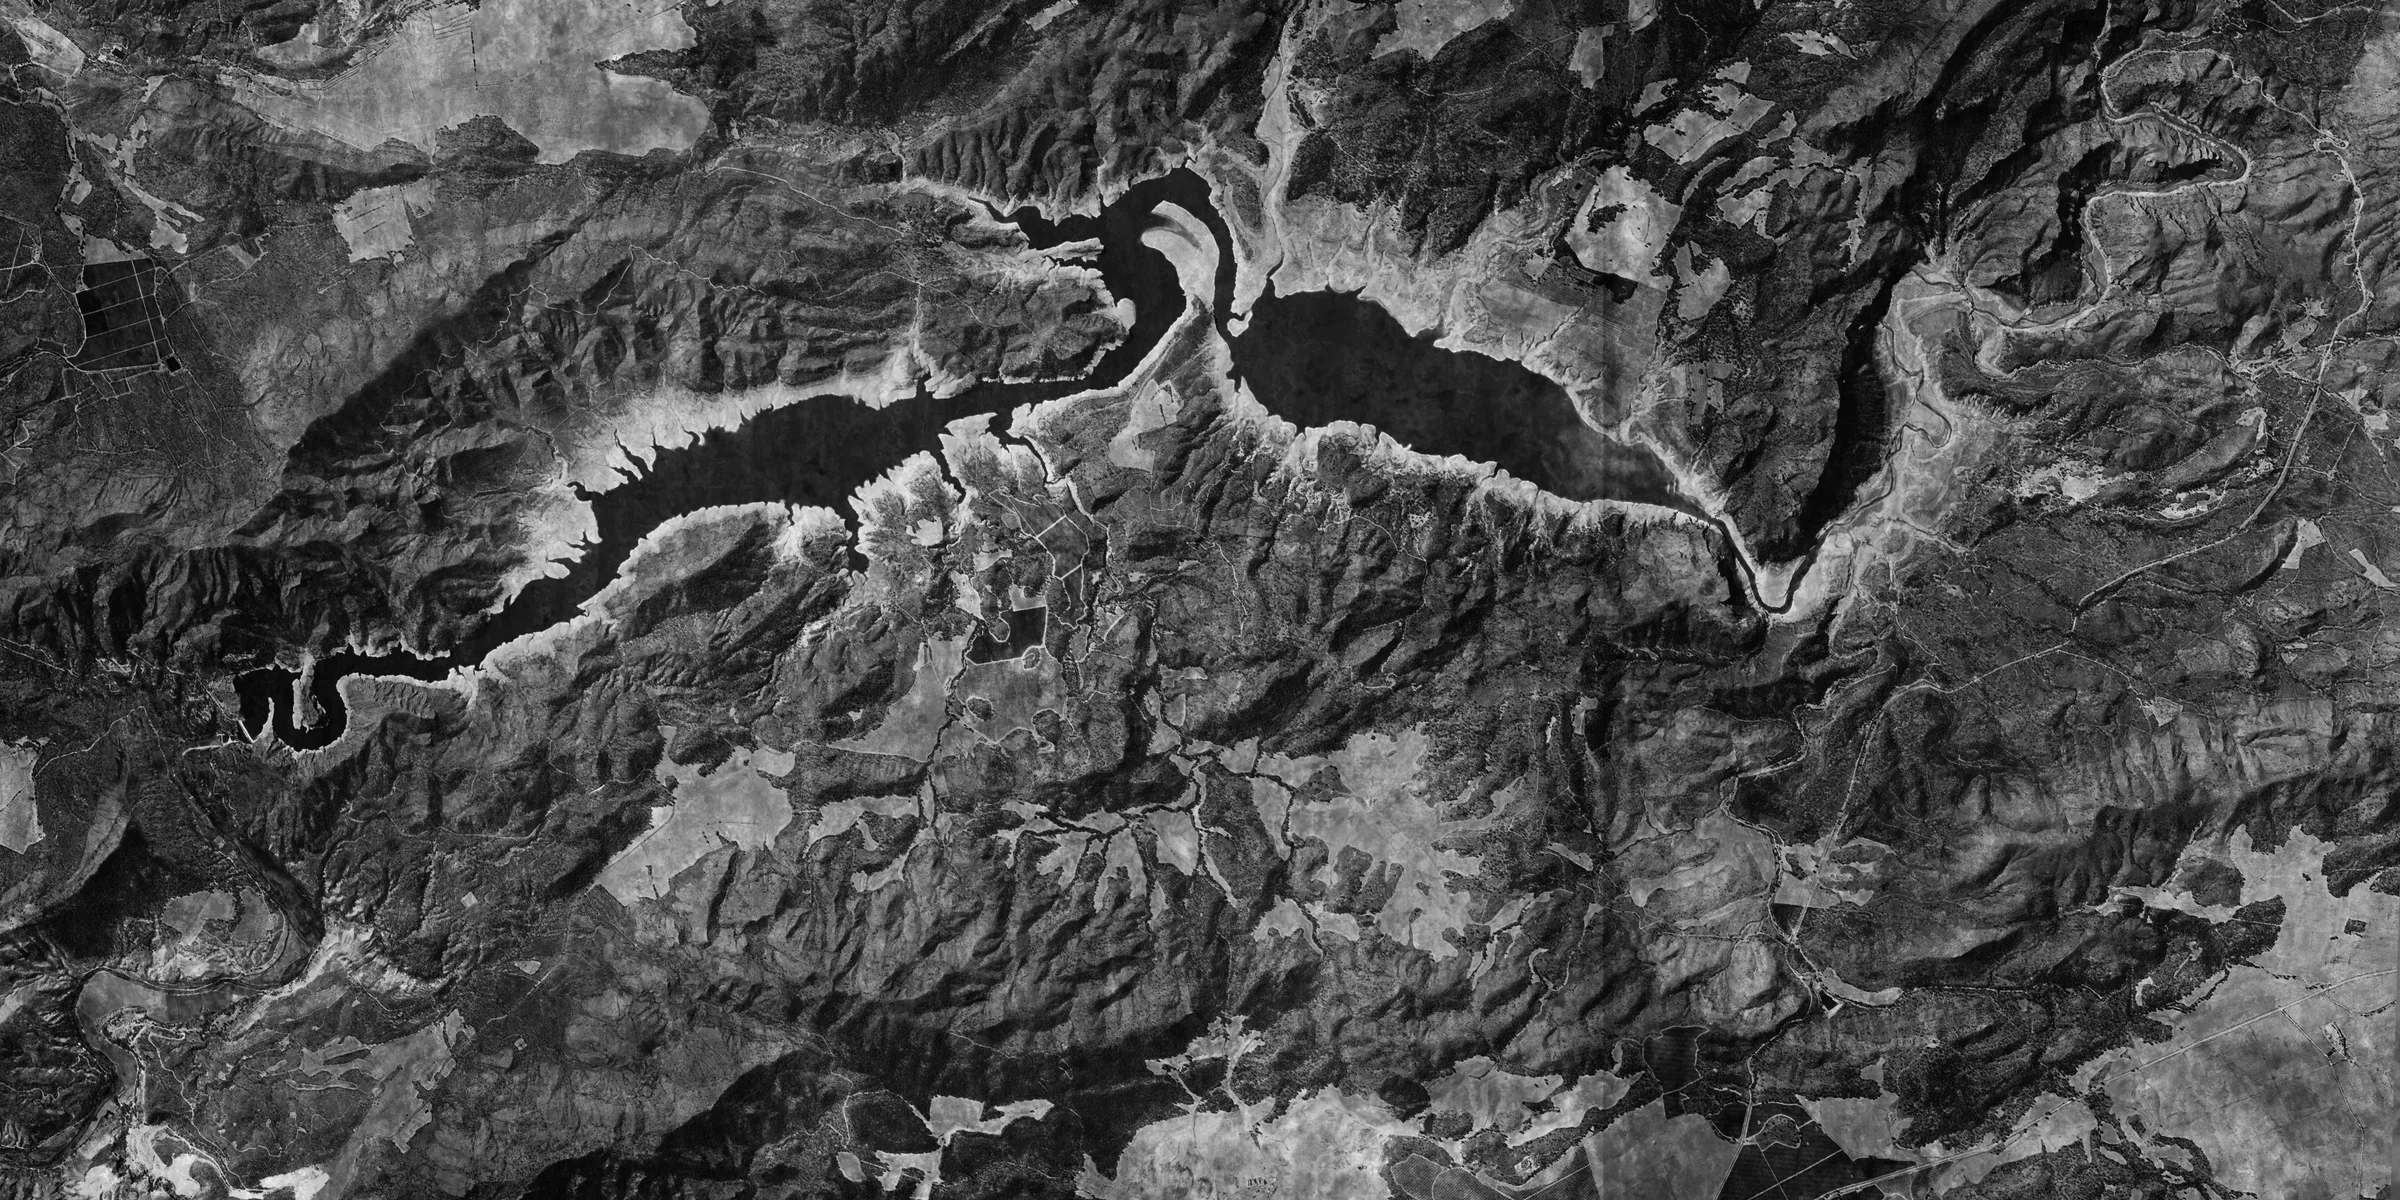
The Gorge
Andalusian sierras, inland from the Strait
A reservoir drowning a steep, branching valley in the mountains on the road south to the Strait. Relief dominates everything here — ridgelines mask whole grid squares, so the topography layer earns its keep more than extra range does.
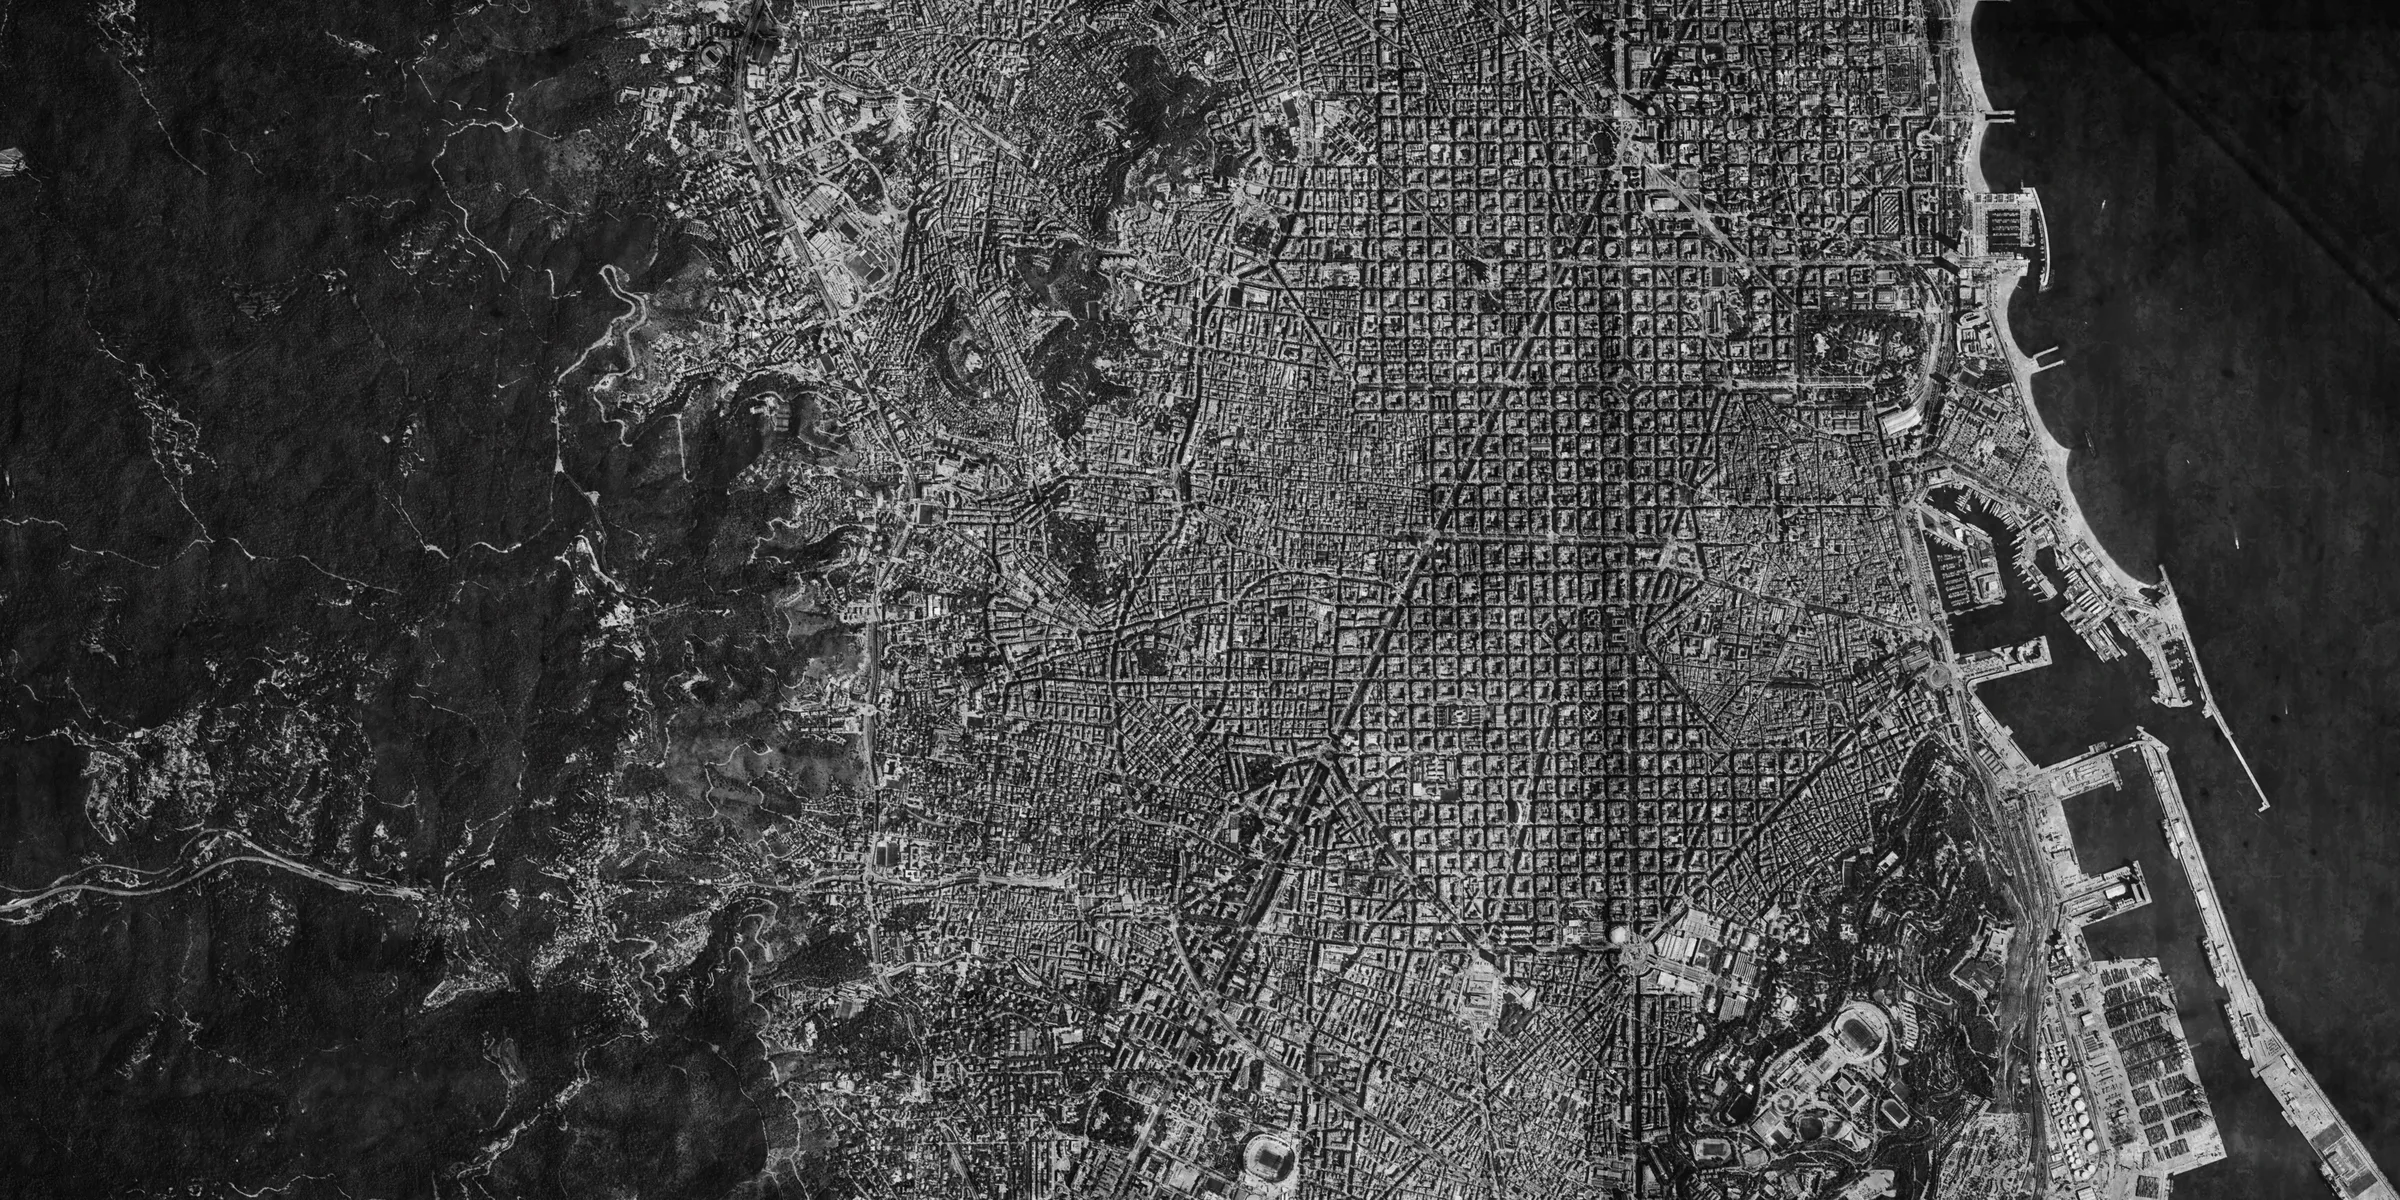
White shells
Barcelona, coastal Catalonia
Catalonia's capital, on a coastal plain roughly 11 km long pinned between the Serra de Collserola and the Mediterranean, with the Besòs and Llobregat deltas at either end. The campaign's final map, and the one where its four endings diverge.
Map icon keys
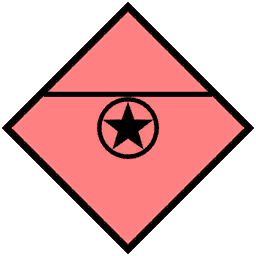
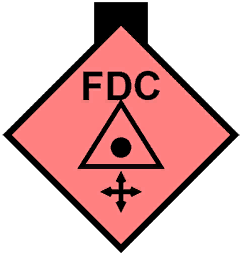
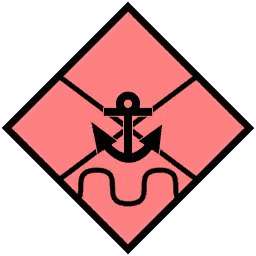
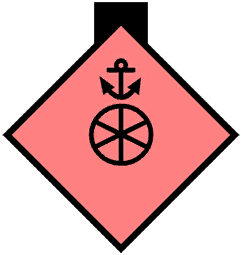
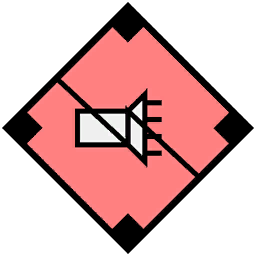
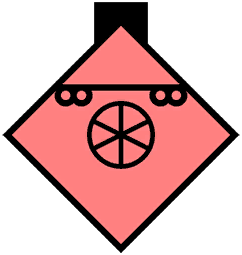
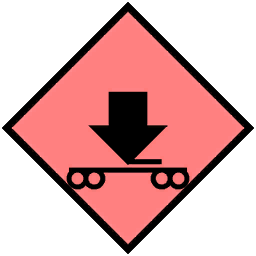
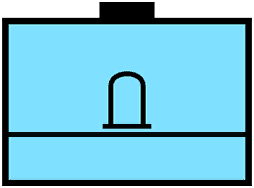
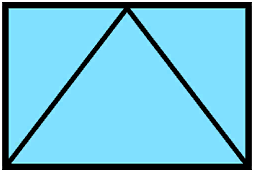
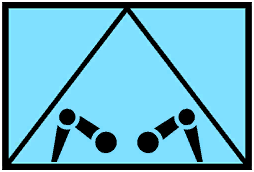
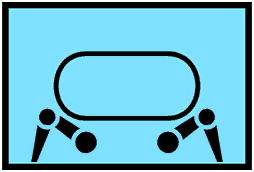
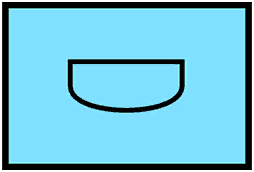
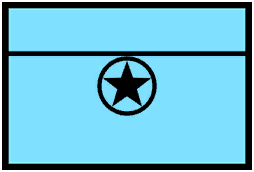
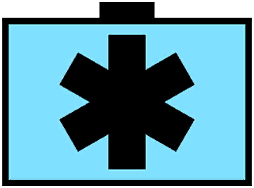
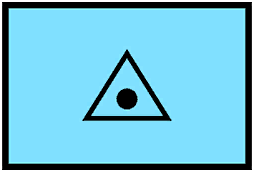
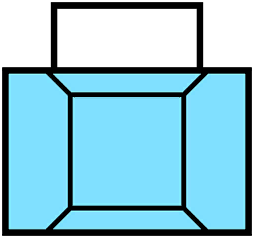
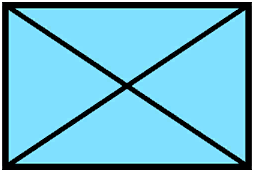
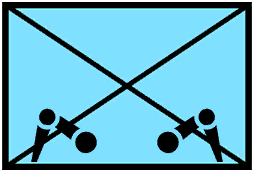
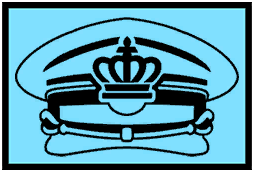
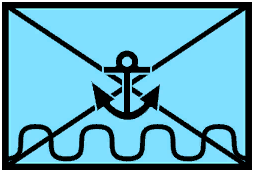
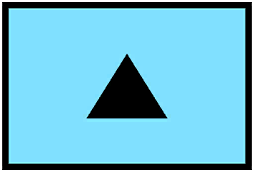
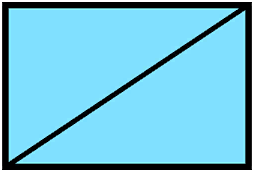
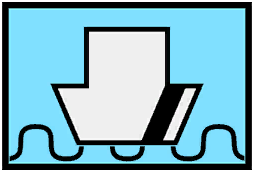
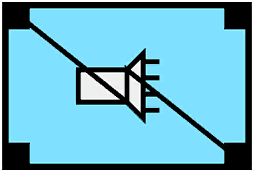
The 70 markers the tactical map draws. Red-side and blue-side versions of the same unit share a silhouette, so it is the frame that tells you who you are about to shell — how to read a counter.
Enemy · 34
- AA
- Ammunition Cache
- Anti-tank
- Armor Mechanized
- Artillery Bunker
- Artillery Turret
- Base
- Civil Rioting
- Civilian
- Commander
- Emergency Medical Operation
- Field Artillery
- Field Artillery Observer
- Fire Direction Center
- Infantry
- Infantry Mechanized
- Iron Nest
- Marine
- Medical
- Medical Treatment Facility
- Port
- Recon
- Recon Listening
- Rioting
- Ship
- Ship Engine
- Ship Fire Direction Center
- Ship Stripe
- Ship Turret
- TV and Radio Propaganda
- Train Locomotive
- Train Station
- Train Transport
- Underground Fort

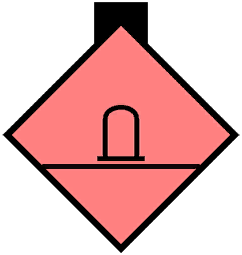

























Allied · 29
- AA
- Ammunition Cache
- Anti-tank
- Anti-tank Mechanized
- Armor Mechanized
- Civil Military
- Civil Rioting
- Civilian
- Commander
- Emergency Medical Operation
- Field Artillery
- Field Artillery Observer
- Fort
- General
- Hospital
- Infantry
- Infantry Mechanized
- King
- Marine
- Medical
- Medical Treatment Facility
- Military Base
- Police
- Port
- Recon Listening
- Reconnaissance
- Ship Stripe
- TV and Radio Propaganda
- Train Station







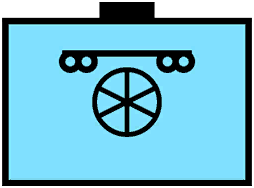
Neutral · 7
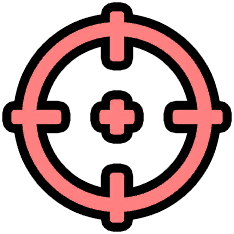
- Crosshair
- Medical
- Medical Treatment Facility
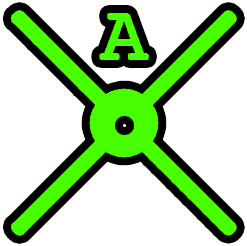
- Reference Point A
- Reference Point B
- Reference Point C
- Reference Point D